
I was trying to install a game update last week when I hit a wall. My laptop, which I swore had plenty of room, told me I was out of space. Again.
Its a frustratingly common experience, one that slows everything down and makes you feel like youre constantly housekeeping your own device.
Knowing how to check laptop storage isn’t just about avoiding that error message; it’s about understanding your machine’s health and performance. When your drive is nearly full, everything suffersboot times lag, programs stutter, and that once-speedy machine feels ancient.
Before we dive into the methods, let’s talk about a simple fix that changed my workflow. For large media libraries, project files, or game backups that you don’t need daily, an external drive is a lifesaver.
In my own setup, I offload completed projects and my entire photo archive to a Seagate Portable 2TB. Its a no-brainer for instantly freeing up gigabytes without deleting anything permanently.
Its the digital equivalent of moving old boxes to the atticyou keep them, but theyre not cluttering your living room.
Why Bother Checking Your Laptop’s Storage?
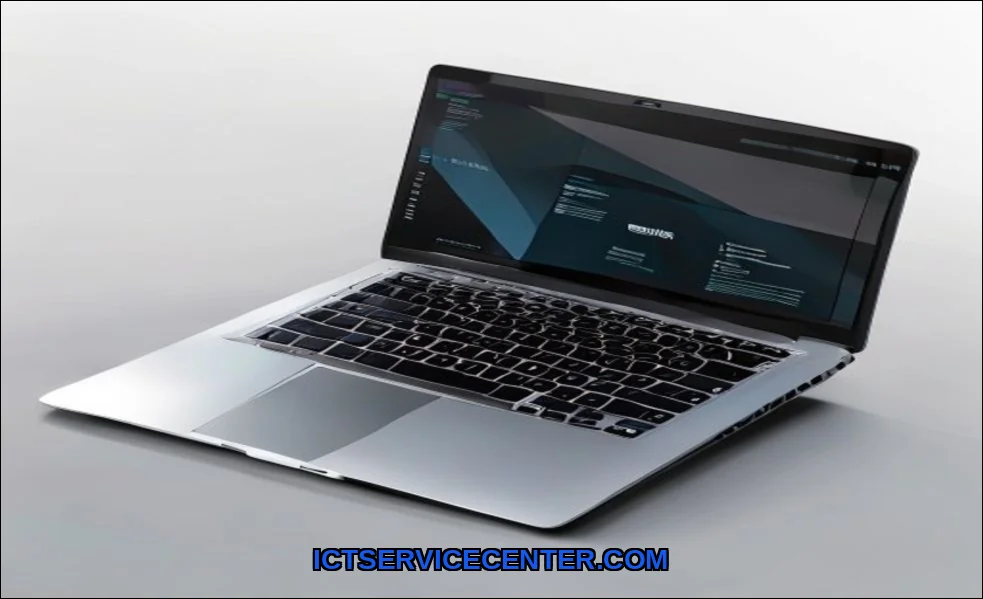
Think of your laptop’s storage like a closet. You start with empty shelves, but over time, you cram things in without a second thought. Old clothes, boxes you never opened, duplicates of things you already have.
Suddenly, you can’t find your favorite jacket, and the door won’t even shut properly. Your laptop’s hard drive or SSD is the same. A cluttered drive forces your system to work harder to find files, slowing performance.
Regularly checking your storage lets you clean proactively, not reactively when a critical update fails. Its basic maintenance, like checking your car’s oil.
Method 1: The Quick Glance with Windows Built-in Tools
Windows gives you a couple of fast ways to see how much space you have left. They’re surface-level, but perfect for a quick health check. If that sounds like your bench, read up on how to reset your laptop and keep your files next.
Using File Explorer (The Classic View)
This is my go-to for a 10-second diagnosis. Open File Explorer (the folder icon on your taskbar).
On the left, click “This PC.” You’ll immediately see your drives listed under “Devices and drives.” The blue bar and the text (e.g., “100 GB free of 475 GB”) show your hard drive capacity and remaining free space.
It’s instant, visual, and tells you if you’re in the danger zone (typically when free space drops below 10-15% of total capacity).
The Settings App Deep Dive
For a slightly more detailed breakdown, Windows 10 and 11 have improved their Storage settings. Press Windows Key + I to open Settings, then go to System > Storage. Here, you get a categorized view.
It shows how much space is used by Apps & features, Documents, Pictures, and more. Clicking on a category, like “Temporary files,” often lets you clean it directly from this menu.
This is your first step to analyze storage by type, not just total used.
Method 2: Digging Deeper with Storage Sense & Disk Cleanup
If the Settings app showed a troubling amount of used space, it’s time to roll up your sleeves. Windows has built-in cleaners that do the heavy lifting.
Automating with Storage Sense
I love setting this and forgetting it. Storage Sense is an automated cleanup tool. Youll find it in Settings > System > Storage.
Turn it on, and you can configure it to automatically delete temp files from your Recycle Bin and Downloads folder after a set time (like every 30 or 60 days).
Its a fantastic “set-it-and-forget-it” tool for basic manage laptop storage tasks, preventing the slow creep of clutter. Before you buy anything, it is worth looking at scan your laptop.
The Power of Disk Cleanup
For a one-time, thorough scrub, the classic Disk Cleanup utility is still powerful. Search for “Disk Cleanup” in the Start menu, select your main drive (usually C:), and let it scan.
It will present a list of file types you can safely delete: Windows Update cleanup files, previous Windows installations (if you recently upgraded), and delivery optimization files. I always check the boxes for “Temporary files” and “Recycle Bin” here.
Its a manual process, but you can recover a shocking amount of space in minutes. This is often the fastest solution for how to free up storage on a full laptop.
Method 3: Unleashing Third-Party Storage Analyzers
Windows’ tools tell you the “what,” but not always the “where.” When I need to find exactly which folder or file is a space hog, I turn to a third-party analyzer. These tools visualize your disk usage with interactive charts. For the detail, see our notes on check your laptopu2019s.
- TreeSize Free or WinDirStat are my favorites. You run them, point them at your C: drive, and they scan every nook and cranny.
- They display results in a tree maplarge rectangles represent large files/folders. I once found a forgotten 40GB virtual machine file hiding in a user folder this way.
- This method is unbeatable for answering “how to see what’s taking up space on my laptop” with precision. You can instantly identify rogue log files, oversized game mods, or duplicate video downloads.
Understanding What You Find: Breaking Down the Data

Seeing the data is one thing; understanding it is another. Heres a quick guide to common space-eaters:
| Category | What It Usually Is | Can You Delete It? |
|---|---|---|
| System & Reserved | Windows OS files, recovery partitions, hibernation files. | Mostly no. Be very careful. Use Disk Cleanup for safe options. |
| Apps & Features | Installed programs and games. The biggest offenders. | Yes, via Settings > Apps. Uninstall what you don’t use. |
| Temporary Files | Cache from browsers, Windows updates, and app installers. | Yes, absolutely. Primary target for Disk Cleanup. |
| Documents/Media | Your personal files: photos, videos, downloads, documents. | Your call. Move to cloud storage or an external drive. |
Don’t forget about cloud storage sync folders (OneDrive, Google Drive, Dropbox). Files stored “online-only” in Windows don’t take local space, but if they’re set to sync locally, they do. Checking these settings can instantly free up room.
My Recommended Action Plan for Managing Storage
Based on my own trial and error, heres a practical, step-by-step plan I follow every few months:
- Run the Quick Check: Open File Explorer to see your free space percentage. If it’s below 15%, proceed.
- Use Disk Cleanup: Reclaim easy wins from temporary and system files.
- Audit Apps: Go to Settings > Apps > Installed apps. Sort by size. Uninstall one or two giant programs you haven’t used in months.
- Analyze with a Third-Party Tool: Run TreeSize. Identify the top 3 largest folders outside the usual suspects (Windows, Program Files). Investigate and clean.
- Implement a System: Turn on Storage Sense. Designate your external drive (like the Seagate Portable 2TB) or a cloud service for old projects and media. For more on planning your storage needs from the start, our guide on how much storage a laptop should have is a great resource.
This process usually frees up 20-50GB for me in under 30 minutes. For a deeper dive into selecting the right type of storage, consider reading about choosing laptop storage based on your specific usage.
FAQs: Your Laptop Storage Questions Answered
How do I check laptop storage on Windows 11?
The process is even more streamlined. Press Win + I, go to System > Storage. You’ll see a visual breakdown immediately. The “Cleanup recommendations” button is a great starting point.
What’s the best way to analyze laptop disk usage?
For a quick, built-in look, use the Storage settings. For a powerful, detailed visualization that finds hidden space hogs, a third-party tool like TreeSize Free is the best way to analyze laptop disk usage.
Is it safe to delete everything in Disk Cleanup?
Mostly, yes. The utility only shows files Windows deems safe to remove. I always check the boxes for Temporary Files, Recycle Bin, and Thumbnails. Be more cautious with “Windows Update Cleanup” if you think you might need to uninstall a recent update, but it’s generally safe.
My C: drive is full, but my D: drive is empty. What can I do?
You can move personal folders (Documents, Pictures, Downloads) to the D: drive. Right-click the folder in File Explorer, select Properties > Location > Move. Also, when installing new programs, choose “Custom install” and set the D: drive as the installation path if possible. If that sounds like your bench, read up on our notes on on your laptop next.
Keeping your laptop’s storage in check is a fundamental skill. It prevents performance issues, reduces anxiety when installing new software, and extends the useful life of your machine. Start with the built-in toolsthey’re more capable than ever.
When you hit a wall, a storage analyzer will show you the truth. And remember, sometimes the best solution is adding more space, whether through a service like OneDrive or a physical drive.
For more general upkeep tips that complement storage management, this external guide on essential computer maintenance is worth a look. Make it a habit. Your laptop will thank you with faster boots, smoother performance, and fewer frustrating “low disk space” warnings.
We cover how to disable startup programs & speed up your laptop in a guide of its own.
