How to Clean Your Laptop Touchpad Safely & Effectively
Contents
I’ve cleaned more laptop touchpads than I can count. Some were just dusty. Others were sticky messes from spilled soda or years of built-up skin oils. The difference a clean trackpad makes is immediate. Your cursor glides. Clicks feel crisp. The whole machine just feels more responsive.
But I’ve also seen touchpads ruined by well-intentioned cleaning. Harsh chemicals that strip coatings. Moisture that seeps into seams. It’s not just about wiping it down. It’s about knowing your specific touchpad, the right materials, and the exact technique. Let’s get into how I do it.
Why a Clean Touchpad Matters More Than You Think
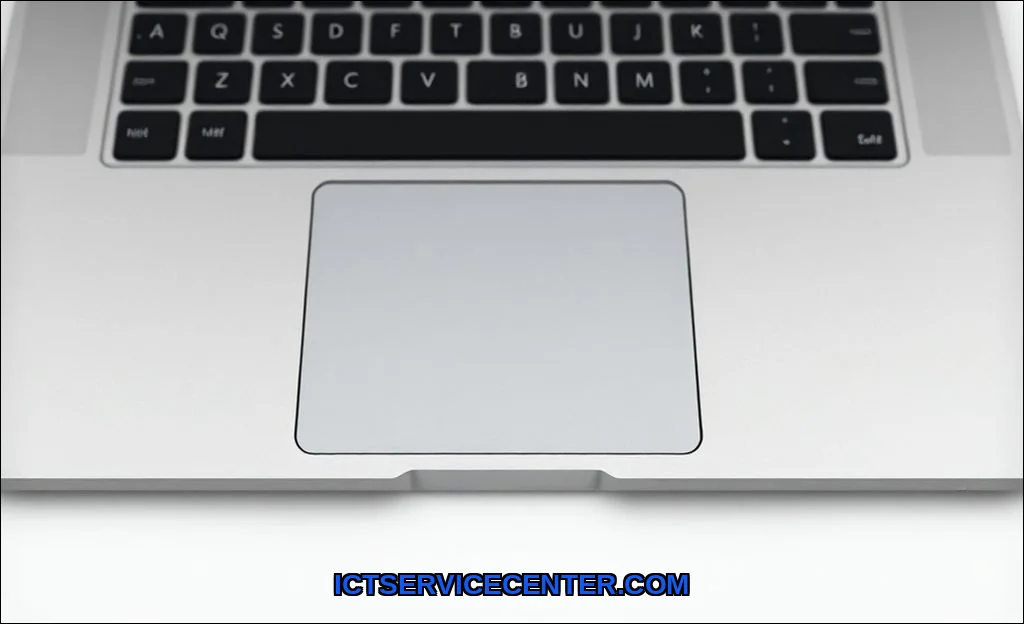
We focus on cleaning screens and keyboards, but the touchpad is our primary control surface. A dirty one isn’t just gross. It directly impacts performance. Oils and grime interfere with the capacitive sensor, causing jumpy cursor movement or unresponsive zones. A sticky touchpad fix often starts with a simple, proper clean.
Think about it. Your fingers are on it constantly. It collects everything: lotion, food residue, dead skin. This grime layer changes how your finger interacts with the sensor. For precision touchpad care, regular hygiene is non-negotiable. It’s also about device longevity. Corrosive residues can, over time, degrade the surface coating or even the underlying hardware.
What You’ll Need: The Right Tools for the Job
You don’t need fancy gear. In fact, simpler is often safer. Heres my go-to kit, assembled from years of trial and error.
- A lint-free cloth: Microfiber is king. An old glasses-cleaning cloth works perfectly. Avoid paper towels or tissuesthey can scratch.
- Isopropyl alcohol (70% or higher): My cleaning agent of choice. It evaporates quickly, kills germs, and cuts through grease without leaving residue. Never use it directly; always apply to the cloth first.
- Distilled water: For initial dampening or for touchpads with sensitive coatings.
- Cotton swabs: For getting into the tight seam around the touchpad.
- A soft-bristled brush: A clean, dry makeup brush or a new paintbrush is ideal for dislodging crumbs from the edges.
For this project, many professionals recommend using the Keyboard Cleaning Kit which often includes perfect microfiber cloths and safe brushes. Its a great starting point for overall laptop hygiene.
One critical, often-missing step? Ground yourself. Before touching any internal components or even the surface with a damp cloth, touch a metal part of the laptop while it’s plugged into a grounded outlet (but powered off). This prevents static discharge from damaging sensitive electronics. Its a habit from my work on internal components that applies here too.
The Step-by-Step Cleaning Process I Use
This is the method I’ve refined. It works on everything from a basic Dell Latitude to a sleek Apple MacBook. The core principle is gentle and dry.
1. Power Down and Prep
Shut down the laptop and unplug it. If the battery is removable, take it out. This is your safety net. Turn it upside down and gently tap to dislodge any loose debris around the touchpad area.
2. The Initial Dry Pass
Take your dry, lint-free cloth and wipe the entire palm rest and touchpad surface. Use firm but gentle pressure. Youd be surprised how much dust and dry grime this removes. Pay special attention to the edges where gunk loves to hide.
3. The Damp Clean (The Main Event)
Dampen a corner of your microfiber cloth with a small amount of isopropyl alcohol or distilled water. Wring it out so it’s barely dampnever wet. Wipe the touchpad surface using light, circular motions. Don’t pour liquid directly onto the laptop. I focus on one small area at a time, immediately following with a dry part of the cloth to buff it streak-free.
This is how you remove fingerprints touchpad grime effectively. For the seam, I use a cotton swab lightly dampened with alcohol, rolling it gently along the edge.
4. The Final Dry and Inspection
Go over the entire area one more time with a completely dry part of the cloth. Ensure no moisture remains in the seams. Let it sit for a few minutes before powering on. This waiting period is crucial to let any microscopic moisture evaporate.
Common Mistakes I’ve Seen (And Made)
I learned these the hard way so you don’t have to.
- Using Windex or glass cleaner: Big mistake. Ammonia and other chemicals can permanently haze or dissolve the matte or oleophobic coating on many touchpads. Stick to isopropyl alcohol or water.
- Spraying cleaner directly on the laptop: Liquid will find its way inside. Always spray onto the cloth, never the device.
- Using abrasive cloths or scrubbing pads: They create micro-scratches that trap more dirt and feel rough under your finger.
- Ignoring the driver software: Sometimes, an unresponsive touchpad clean won’t solve a software glitch. If problems persist after cleaning, check your touchpad driver in Device Manager.
- Assuming all touchpads are the same: Most modern ones are capacitive, but some older or rugged models use resistive sensors. Pressure matters less for capacitive onesbe gentle.
When Cleaning Isn’t Enough: Troubleshooting Tips
You’ve cleaned it meticulously, but the cursor still jumps or clicks fail. Now what? Here’s my diagnostic flow.
First, reboot. It sounds trivial, but it clears temporary software glitches. If that fails, delve into settings. On Windows, search for “Touchpad settings” and ensure it’s enabled. Adjust sensitivitysometimes a setting is just off.
Next, update or reinstall the driver. An outdated driver can cause erratic behavior even on a spotless surface. I head to Device Manager, find the touchpad (often listed under “Mice and other pointing devices”), right-click, and select “Update driver” or “Uninstall device” (rebooting will reinstall it).
Consider your hardware choices too. The performance of your entire system, including peripheral response, can be influenced by your core components. Ensuring you have a balanced system, starting with the right laptop processor for your daily use, creates a stable foundation where the touchpad driver isn’t fighting for resources.
If it’s still broken, the issue might be physical. Liquid damage can corrode the ribbon cable connector. Or the touchpad itself could be failing. At this point, professional repair is the safest bet.
Keeping It Clean: My Preventive Routine
How often should you clean your laptop touchpad? My rule is simple: wipe it down with a dry cloth at the end of each day. Do a proper damp clean with alcohol every two weeks, or anytime it starts to feel less responsive or look grimy.
Prevention is the best laptop touchpad maintenance. Wash your hands before using the laptop. Avoid eating over the keyboard and touchpad. Consider a skin or cover for the palm rest area if you’re prone to sweaty hands or use lotion frequently.
General upkeep matters. Just like you manage your laptop storage needs for digital cleanliness, physical cleanliness requires a routine. For a broader look at system care, the guide on essential computer maintenance from HP offers solid, universal advice that complements this hands-on cleaning focus.
A Note on Brands and Coatings
Not all surfaces are created equal. Apple’s MacBook touchpads have a famously smooth glass surface that’s very durable. Most Windows laptops from Dell, HP, and Lenovo use a plastic or coated surface that can be more susceptible to wear from abrasives.
Many now feature oleophobic (oil-repelling) coatings, similar to phones. Harsh chemicals strip this away. When in doubt, distilled water is the safest bet for these coated surfaces. When I’m testing a new machine, I check the manufacturer’s support site for specific cleaning instructionsit’s five minutes that can save the finish.
A clean touchpad transforms the user experience. It’s not just aesthetics. It’s about precision, responsiveness, and preserving your investment. With the right toolsa lint-free cloth, some isopropyl alcohol, and a gentle touchyou can clean trackpad properly and keep it feeling new. Skip the shortcuts, avoid the harsh chemicals, and make it part of your regular tech hygiene. Your fingers will thank you.