
 By
A second monitor turns a cramped laptop screen into a real workspace, and the setup takes about ten minutes with the right cable. Plug the monitor in, press Win + P, and choose Extend.
In short: Connect the monitor to a free HDMI, DisplayPort, or USB-C port on your laptop, turn the monitor on and select the matching input, then press Win + P and choose Extend. In Settings, then System, then Display, drag the two screen boxes into the same order as the monitors on your desk.
Key takeaways
- Each monitor needs its own video signal: one port, or one dock output, per screen.
- Extend gives you one wide desktop; Duplicate shows the same picture on both screens.
- Win + P switches modes; Settings, then System, then Display handles the rest.
- Check that a USB-C port carries video before buying a cable.
- If the monitor stays blank, check the input source and the cable before changing drivers.
Check your laptop ports first
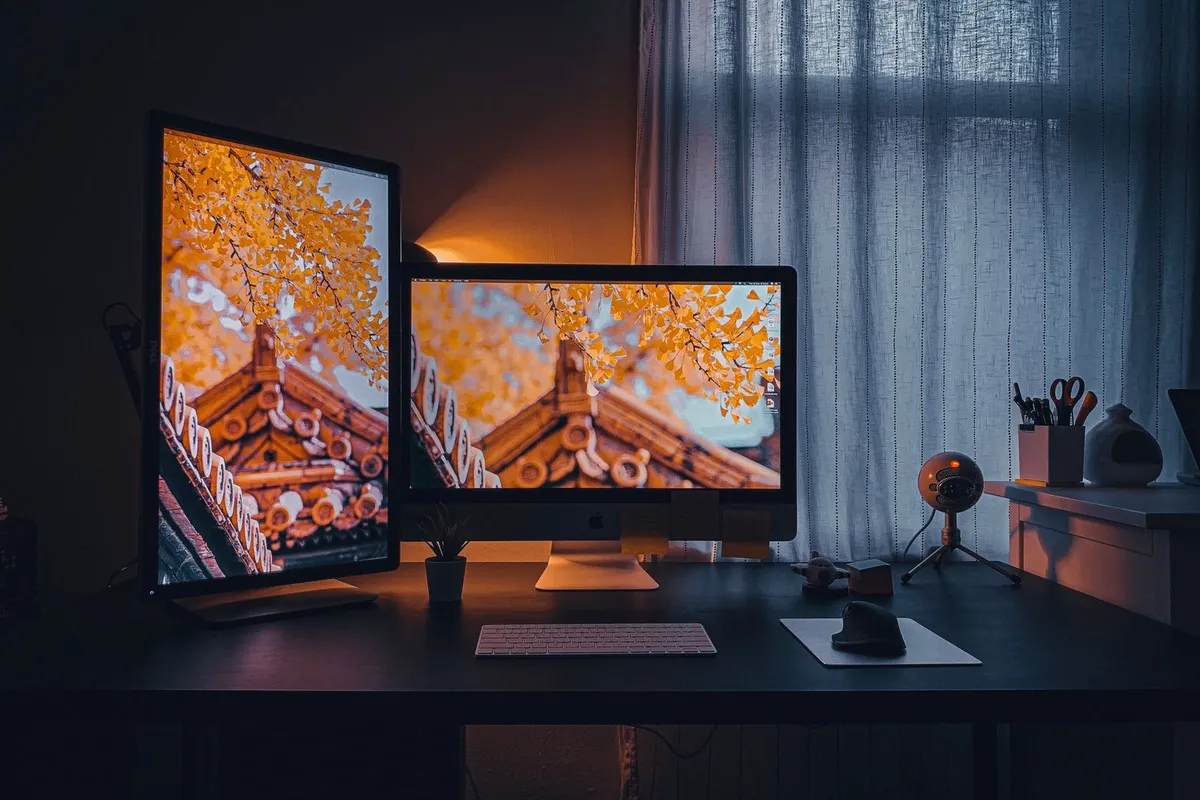
Before you buy a cable, look at the sides of your laptop and list the video outputs you have. A full-size HDMI port is the most common, and many newer laptops also have a USB-C port that can carry video. A full-size DisplayPort is rare on laptops; older ones may have mini DisplayPort or VGA.
The port decides the cable, so do not guess. A USB-C port only carries video if it supports DisplayPort Alt Mode or Thunderbolt, and the maker lists that in the specifications for your exact model.
Look for a small DisplayPort symbol or a lightning bolt next to the port, then confirm it on the maker support page. A plain USB-C charging port looks the same but sends no video signal at all.
Also check how many external monitors your laptop can drive. Many laptops support one external monitor plus the built-in screen. Some support two externals, and some support only one, so check the graphics section of the maker spec sheet before you buy a second monitor. If you have not bought one yet, our guide to the best monitor for a laptop explains size, resolution, and panel choices.
| Port | What it looks like | What it can do |
|---|---|---|
| HDMI | Wide flat port with angled corners | Video and audio to most monitors |
| DisplayPort or mini DisplayPort | Rectangular port with one angled corner | Video and audio, often at high refresh rates |
| USB-C with DisplayPort Alt Mode | Small oval port, sometimes marked with a D symbol | Video, data, and sometimes power over one cable |
| Thunderbolt (USB-C shape) | Small oval port marked with a lightning bolt | Video, and more than one monitor through a dock |
Connect the monitor with the right cable
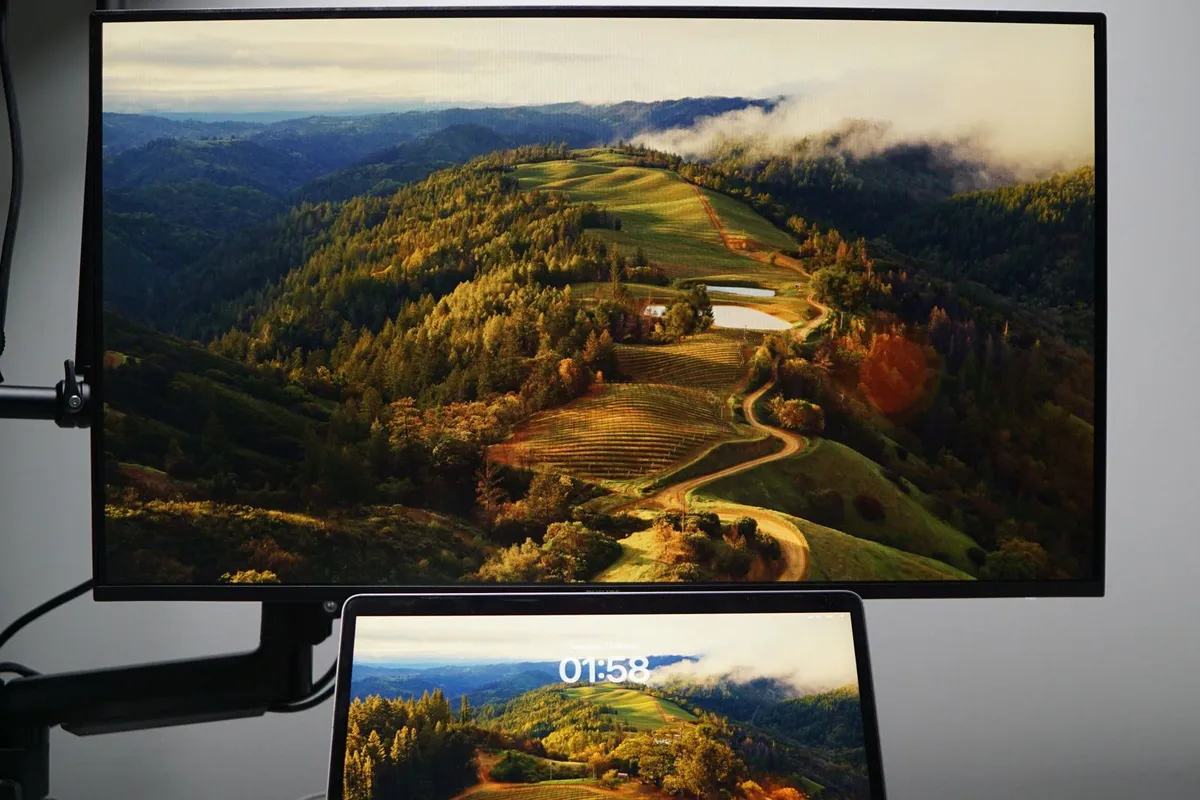
Match the cable to the ports on both ends. HDMI to HDMI is the simplest route on most laptops: one cable, no adapter. If the laptop has USB-C and the monitor has HDMI, use a USB-C to HDMI cable or a small adapter rated for video, not just charging. If the monitor has a USB-C input, one USB-C cable can carry the picture and sometimes charge the laptop too.
- Connect the video cable to the laptop first, then to the monitor, pushing each end in firmly.
- Connect the monitor power cable and turn the monitor on.
- Use the monitor buttons to select the matching input. A monitor on the wrong input stays black.
- Wait a few seconds for Windows to detect the new monitor.
When one port is not enough: hubs and docks
Many thin laptops have only one USB-C port and no HDMI. In that case a hub or a docking station adds the missing video output. A hub is the smaller option: it plugs into the USB-C port and adds an HDMI output plus a few USB ports. A docking station stays plugged into power and gives you two video outputs, USB ports, ethernet, and charging from one cable.
Match the hub or dock to your laptop: a USB-C hub needs a port with DisplayPort Alt Mode, and a Thunderbolt dock needs a Thunderbolt port. Check the product page for the exact port your laptop has. Our guide to the best USB-C hub for a laptop explains what to look for.
Gives a USB-C-only laptop a video output for a second monitor, plus extra USB ports.
See options on AmazonCombines video, power, and USB ports in one connection for a desk setup.
See options on AmazonChoose Extend or Duplicate
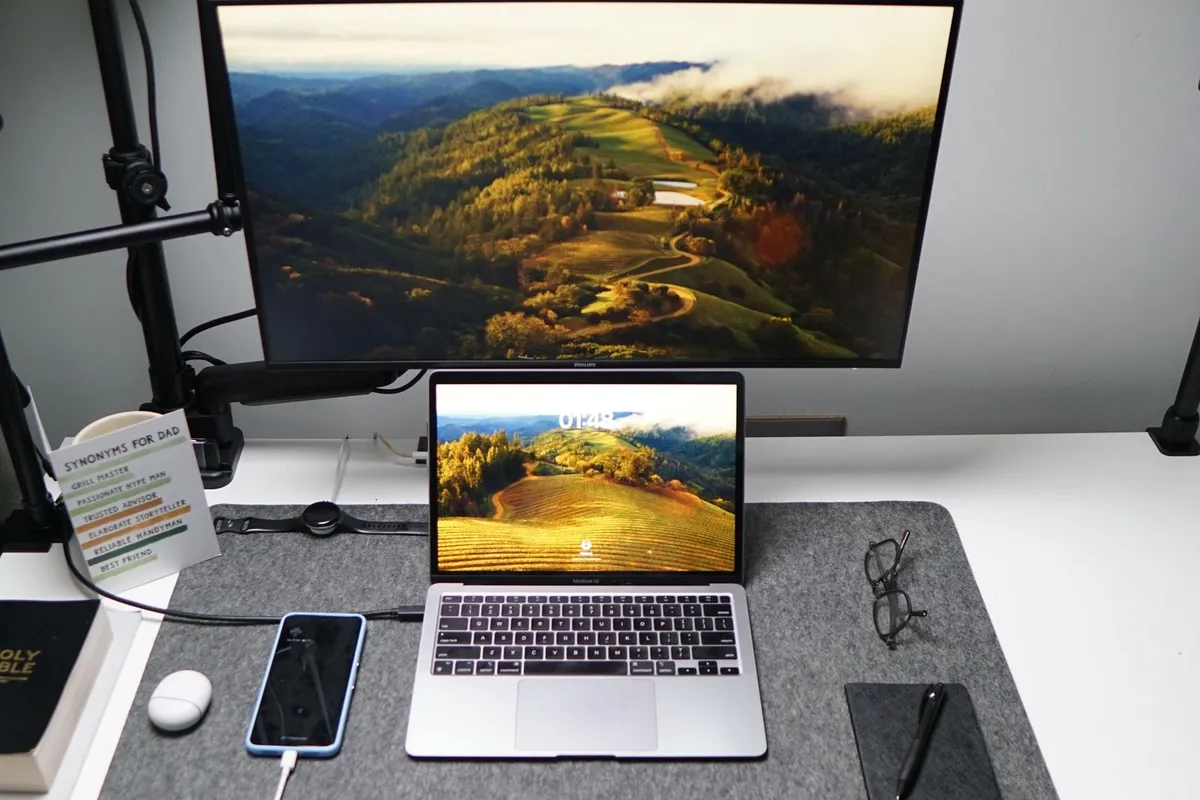
Windows offers four display modes; the one you want is almost always Extend. Press Win + P to open the panel, then pick a mode. You can also find the same choice in Settings, then System, then Display, under Multiple displays.
| Mode | What it does | Use it when |
|---|---|---|
| PC screen only | Desktop on the laptop screen only | You want the external monitor off for now |
| Duplicate | Same picture on both screens | You are presenting or mirroring to a TV |
| Extend | Desktop stretched across both screens | More room to work: the usual choice |
| Second screen only | Desktop on the external monitor only | You work with the laptop lid closed |
With Extend, the two screens act as one wide desktop: drag a window to the edge of one screen and it slides onto the other. With Duplicate, both screens show the same thing, so a second monitor adds no working space at all.
That is the most common surprise in a new setup: the monitor works, but both screens show the same picture, because Windows started in Duplicate mode. Press Win + P and choose Extend to fix it.
The reverse setup is a different job: if you want the laptop itself to act as the extra screen for another PC, see our guide to using a laptop as a second monitor.
Arrange the displays and pick the main screen
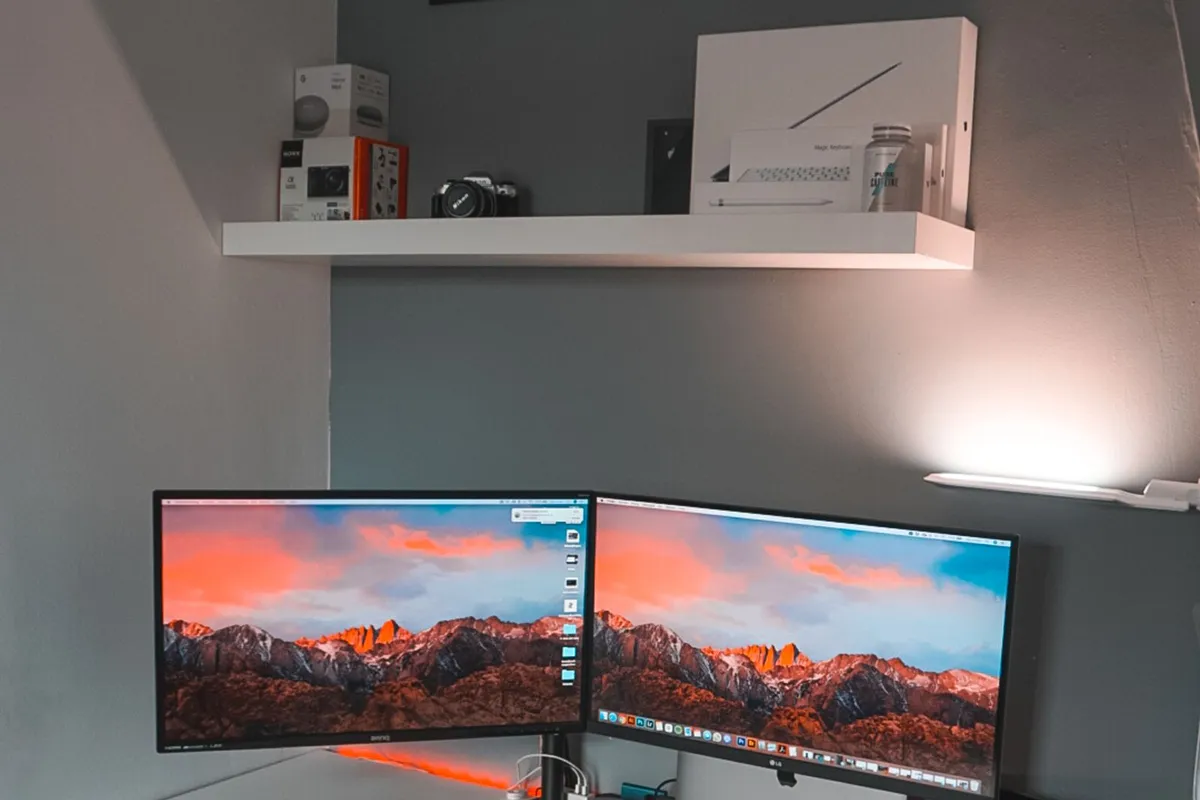
Once Extend is on, tell Windows how the monitors sit on your desk. If the boxes in Settings are in the wrong order, the mouse appears on the wrong side of the other screen.
- Open Settings, then System, then Display. The two numbered boxes at the top stand for your two screens.
- Select Identify. A large number appears on each screen.
- Drag the boxes until they match the monitors on your desk.
- Select Apply to keep the new layout.
- Select the monitor, scroll down, and tick Make this my main display. The taskbar and desktop icons move to that screen.
Put the screen you look at most directly in front of you, at eye level, about an arm length away. Most people put the larger external monitor in the centre and the laptop to one side as the second screen.
The same Display page works on a desktop PC. Our guide to connecting a monitor to a PC covers that setup, including the extra video outputs most desktops have.
Set resolution, refresh rate, and scaling
Each screen keeps its own settings, so select the display box first. Start with the resolution: open Settings, then System, then Display, select the monitor, and set Display resolution to the value marked Recommended, which is the monitor native resolution and gives the sharpest picture.
Next, check the scale. On a small high-resolution screen, text can look tiny at 100 percent. Set Scale to 125 percent or 150 percent on that screen until text is easy to read.
Then check the refresh rate: select the monitor, open Advanced display, and look at Choose a refresh rate. 60 Hz is normal for office work, and a higher rate such as 120 Hz or 144 Hz gives smoother motion if the monitor supports it.
If 60 Hz is missing on a 4K monitor, the cable or port may be the limit: older HDMI 1.4 tops out at 4K and 30 Hz, while HDMI 2.0 and DisplayPort handle 4K at 60 Hz.
If the picture looks blurry, or the right resolution is missing, see our guide to laptop screen resolution problems.
Set it up on a Mac
On a Mac the steps are shorter: macOS detects the display and extends the desktop by itself in most cases. Connect the monitor to a Thunderbolt or HDMI port on the Mac, or through a USB-C adapter, and turn the monitor on.
To arrange the screens, open the Apple menu, then System Settings, then Displays, and drag the display boxes to match your desk. The white menu bar at the top of one box marks the main display; drag it to the other box to move it. To mirror instead of extending, turn on Mirror Displays in the same pane.
Check how many external displays your Mac supports before buying a second one: some Apple silicon Macs support one, while others support two or more.
If the second monitor stays blank
A blank second monitor is usually a connection problem, not a broken monitor. Work through these checks in order, and test after each one.
- Check the monitor power light and the input source. Use the monitor buttons to select the input the cable is plugged into.
- Push the cable in firmly at both ends, then try a different cable or port.
- Press Win + P and make sure Extend is selected, not PC screen only.
- In Settings, then System, then Display, open Multiple displays and select Detect.
- Check Settings, then Windows Update, for a graphics driver update.
- Restart the laptop with the monitor connected and turned on.
If the monitor still shows nothing, the fault may be the cable, the port, or the monitor. Try the monitor with another computer, or another monitor with the laptop, to find which part is at fault. Our fix guide for a second monitor not detected covers the same checks in more detail.
Mistakes to avoid
Buying a splitter to extend the desktop. A splitter copies one signal to two screens, so both show the same picture. The fix: use a second video output, a hub, or a dock.
Using a charging-only USB-C cable for video. Many USB-C cables carry power and data but no video signal. The fix: use a full-featured USB-C cable rated for video, or a USB-C to HDMI adapter.
Leaving Duplicate on and wondering why nothing changed. Duplicate mirrors the laptop screen, so the second monitor adds no space. The fix: press Win + P and choose Extend.
Skipping the arrange step. When the boxes in Settings do not match the desk, the mouse crosses to the wrong screen. The fix: open Display settings and drag the boxes into place.
Keeping the laptop screen as the main display. The taskbar and new windows open on the small screen while the big monitor sits half empty. The fix: select the external monitor and tick Make this my main display.
Closing the lid without changing the power setting. Most laptops sleep when the lid closes, which turns the external monitor off too. The fix: in Power Options, set closing the lid to Do nothing while plugged in.
Frequently asked questions
Can I connect two monitors to a laptop?
Most laptops drive one external monitor plus the built-in screen with no extra hardware. A second external monitor needs a second video output, a Thunderbolt port, or a docking station, and the graphics chip must support that many displays, so check the maker spec sheet first.
Do I need a docking station for dual monitors?
Not always. If your laptop has a free HDMI or DisplayPort output, a single cable is enough. A docking station is the answer when the laptop has only one USB-C port, or when you want one cable to handle two monitors, charging, and USB devices.
Why is my second monitor not detected?
Start with the simple causes: the monitor input source, a loose cable, and the Win + P mode, which must be Extend. Then open Settings, then System, then Display, and select Detect under Multiple displays. If that fails, update the graphics driver.
Can I use my laptop with the lid closed?
Yes, with an external monitor, keyboard, and mouse connected. Change the lid setting in Control Panel, then Power Options, to Do nothing when the lid closes, and keep the laptop plugged into power, so the external monitor becomes the only screen.
What resolution should I set the external monitor to?
Use the value marked Recommended in Display settings, which is the monitor native resolution and gives the sharpest picture. For most monitors that is 1920 by 1080, and for 4K monitors it is 3840 by 2160. If 4K at 60 Hz is missing, check the cable.
Bottom line: Check the ports, connect one cable per monitor, press Win + P and choose Extend, then arrange screens in Settings and set the big monitor as main display. The setup stays in place when you plug the monitor back in. Read our basics guides for the next job.
Sources: Microsoft Support, How to use multiple monitors in Windows (support.microsoft.com); Apple Support, Connect displays to your Mac (support.apple.com); Microsoft Support, Troubleshoot external monitor connections in Windows (support.microsoft.com). Photos: hangphe, Oladimeji Ajegbile, Ruben Daems, Tranmautritam via Pexels. Diagram: ictservicecenter.com.