How to Clean Your Laptop Fan Safely & Effectively
I was working on a video edit last summer when my laptop just quit. The screen went black, and a hot, plasticky smell filled the air. Id ignored the whirring fan noise for months, dismissing it as normal. That was a $300 motherboard replacement lesson. Now, cleaning the fan isn’t a maybe for meit’s a non-negotiable part of ownership, like changing your car’s oil.
You don’t need to be an engineer to do this. With the right mindset and a few specific tools, you can tackle internal cleaning yourself. It saves money, extends your laptop’s life, and that silent, cool operation afterward? Deeply satisfying. For this project, having the right tools is half the battle. I keep a dedicated Keyboard Cleaning Kit in my desk, which often includes the soft brushes and prying tools you’ll need, making it a great starting point.
Why a Clean Fan is Non-Negotiable
Think of your laptop’s cooling system as its lungs. When the vents and fan clog with dust, it can’t breathe. The heat has nowhere to go. I’ve seen this firsthand in everything from slim Dell XPS models to chunky HP Omen gaming rigs. The CPU and GPU start to bake.
The immediate result is fan noisea constant, strained whir as it spins at max RPM trying to cope. The silent killer, though, is thermal throttling. To avoid meltdown, your processor deliberately slows itself down. Your $1500 gaming laptop starts stuttering in a browser. Your video render takes twice as long. This performance throttling is the real cost of neglect, far more common than a total failure. Regular laptop cooling maintenance is the simplest fix.
Gathering Your Arsenal: Tools You’ll Actually Need
You can’t wing this with a paperclip and a vacuum. Based on my teardowns, heres what you really need on your bench:
- Phillips #00 screwdriver: This is non-negotiable. Most laptop screws are tiny. A #0 might work, but a #00 fits perfectly and prevents stripping. Don’t guess.
- Compressed air: The classic. Get a can with a thin straw nozzle for precision blasting.
- Soft-bristle brushes: Makeup brushes or anti-static electronics brushes are perfect for gentle dust removal.
- Prying tool / plastic spudger: For popping open plastic clips without gouging the chassis. A guitar pick can work in a pinch.
- Isopropyl alcohol (90% or higher): For cleaning old thermal paste or sticky grime. Higher purity evaporates faster, leaving no residue.
- Thermal paste: A fresh tube (like Arctic MX-6) if you’re cleaning a gaming laptop or older machine. You’ll need to reapply it.
- Anti-static mat or wrist strap: To guard against electrostatic discharge (ESD). I often just work on a clean, non-carpeted surface and touch a metal faucet first.
The Golden Rules: Safety First, Always
Rushing leads to broken clips and dead components. Follow these rules like scripture.
1. Power Down & Disconnect Everything. Shut down, unplug the charger, and remove the battery if it’s user-accessible. For internal batteries, that’s a step for later in disassembly.
2. The 30-Minute Cooldown. Never open a laptop that’s just been running. Let the components, especially the heatsink, cool completely.
3. Organize Your Screws. They are not all the same length. I use a piece of masking tape and press screws into it in the order they come out, or a compartmented tray. Trust me on this.
4. Mind the Ribbons. Internal connectors are fragile. Never pull on a cablelift the connector’s locking flap first.
5. Gentle Force. If something isn’t budging, you’re missing a screw or a clip. Re-check. Forcing it is how tabs snap.
My Step-by-Step Disassembly Walkthrough
Every laptop is a unique puzzle, but the melody is the same. Heres the general symphony I follow to disassemble laptop for cleaning.
1. Gaining Entry
Flip the laptop over. Remove every single screw on the bottom panel. Some hide under rubber feetpeel them back carefully. Once all screws are out, insert your plastic spudger into a seam. Work your way around the perimeter, listening for the soft pop of clips releasing. Patience is key.
2. Locating the Fan & Heatsink
With the bottom off, you’ll see the motherboard. The cooling system is usually obvious: a copper heatsink pipe running from the center of the board to a fan mounted on the edge. The fan is often held by a few small screws and connected by a thin ribbon cable.
3. The Delicate Part: Disconnecting
- Unscrew the fan from the chassis.
- Find where its ribbon cable plugs into the motherboard. There will be a tiny, often black, locking flap. Gently flip it up with a fingernail or spudger.
- The cable should now slide out freely. Never yank it.
For a deep clean, you may need to unbolt the entire heatsink assembly from the CPU/GPU. This is when you’ll need that fresh thermal paste for reassembly.
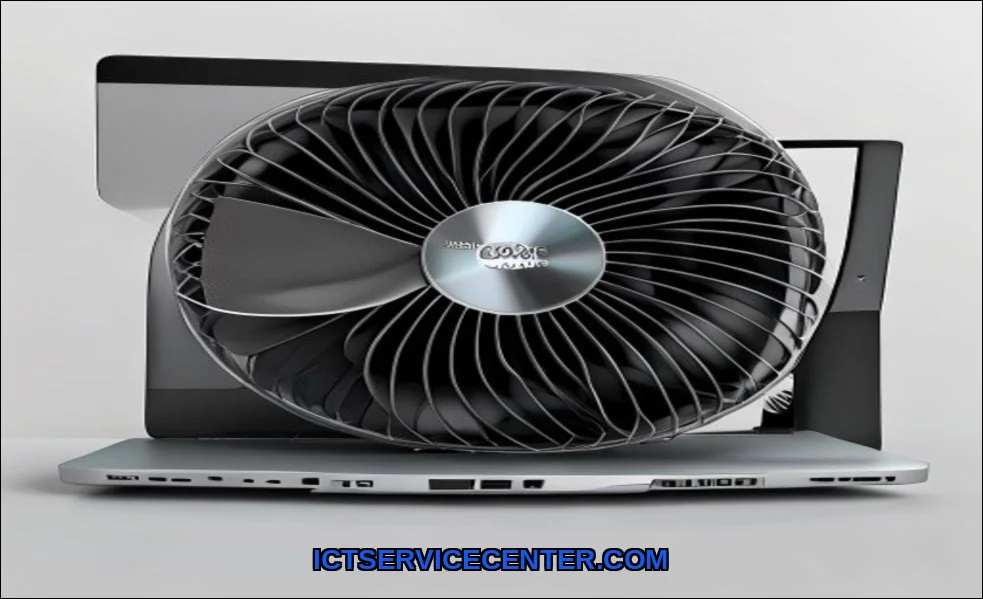
The Main Event: Cleaning Techniques That Work
Now for the gratifying part. You have two main paths here, depending on your comfort level.
Method 1: The Quick Blast (Without Full Disassembly)
This is for the “how to clean laptop fan without taking it apart” crowd. It’s a band-aid, not a cure, but it helps. With the bottom panel off and the fan exposed but still connected:
- Hold the fan blade STILL with a toothpick or your finger. Letting it spin freely from the compressed air can generate current and damage the fan motor.
- Use short bursts of air to blow dust out of the fan blades and heatsink fins.
- Use your soft brush to loosen caked-on dust first, then blast it away.
This is the best way to clean laptop fan from dust superficially. It won’t remove the matted layer between the fan and heatsink, but it’s better than nothing.
Method 2: The Deep Clean (My Recommended Approach)
This is where you see real results. With the fan and heatsink removed:
- Take the fan module outside or over a trash can. Use compressed air and brushes to clean every blade and the housing.
- Focus on the heatsink fins. They’re a dust magnet. Blow air through them from the side opposite the fan. You’ll be shocked at the dust cloud.
- If you removed the heatsink, you’ll see old, crusty thermal paste on the CPU and the heatsink base. Clean both surfaces thoroughly with a paper towel and isopropyl alcohol until they shine.
- Apply a pea-sized amount of new thermal paste to the center of the CPU. Re-seat the heatsink evenly. This step is critical for heat transfer.
Putting It All Back Together & The Moment of Truth
Reassembly is disassembly in reverse. My mantra: slow and methodical.
- Reconnect every ribbon cable, ensuring the locks are fully engaged.
- Screw the fan and heatsink back in firmly but don’t overtighten.
- Replace the bottom panel, clicking all clips into place before inserting screws.
The moment of truth. Power it on. Listen. The initial fan spin-up might be loud, but it should settle into near-silence at idle. Run a stress test or open a demanding program. The fan should ramp up smoothly, not sound strained. Monitor your CPU temperatures with free software like HWMonitoryou should see a notable drop of 10-20C under load. That’s your win.
Keeping It Clean: My Maintenance Routine
So, how often should I clean my laptop fan? It depends entirely on your environment. My rule of thumb:
- Clean desk, no pets: Every 12-18 months.
- On a desk, with a cat or dog: Every 6-12 months.
- Used on beds, couves, or in a workshop: Every 3-6 months.
I add a monthly habit: with the laptop powered off, I give the exterior laptop vents a quick blast with compressed air from the outside to prevent laptop overheating from getting worse. Think of it as brushing your teeth between deep cleanings at the dentist.
This maintenance directly impacts your machine’s longevity and performance, much like choosing the right components from the start. For instance, pairing a clean cooling system with a well-chosen laptop processor for your daily tasks ensures you get all the speed you paid for. Similarly, a thermally healthy laptop won’t need to throttle, protecting your valuable data and making the most of your laptop’s storage during intensive tasks.
For a broader look at keeping your machine healthy, the guide on essential computer maintenance tips from HP offers some great complementary advice.
Opening your laptop feels daunting the first time. I get it. But after you’ve done it once, seen the dust bunnies vanquished, and felt your machine run cool and quiet again, it becomes empowering. It shifts your relationship with your tech from user to steward. You’re not just preventing a repair; you’re claiming the full performance you invested in. Grab that Phillips #00 screwdriver, take a breath, and give your laptop the fresh air it deserves.