How to Prevent Scratches on Your Laptop Screen
Contents
I’ve seen it happen too many times. A friend pulls out their laptop, and there it isa fine, hairline scratch right across the display. It’s not a catastrophic crack, but it’s a permanent distraction. Every time the light hits it just right, that little blemish pulls your eye away from your work. I’ve been there myself, and after years of testing gear and repairing devices, I’ve learned that preventing laptop screen scratches is far easier than fixing them.
Think about it. Your screen is the window to everything you do. A scratched display can make even a high-resolution panel look cheap and blur text. It’s not just about vanity; it’s about usability and preserving your investment. The good news? With a few simple habits and the right accessories, you can keep that screen pristine for years. Let’s talk about what actually works, based on my own trial and error.
Why Laptop Screens Scratch So Easily
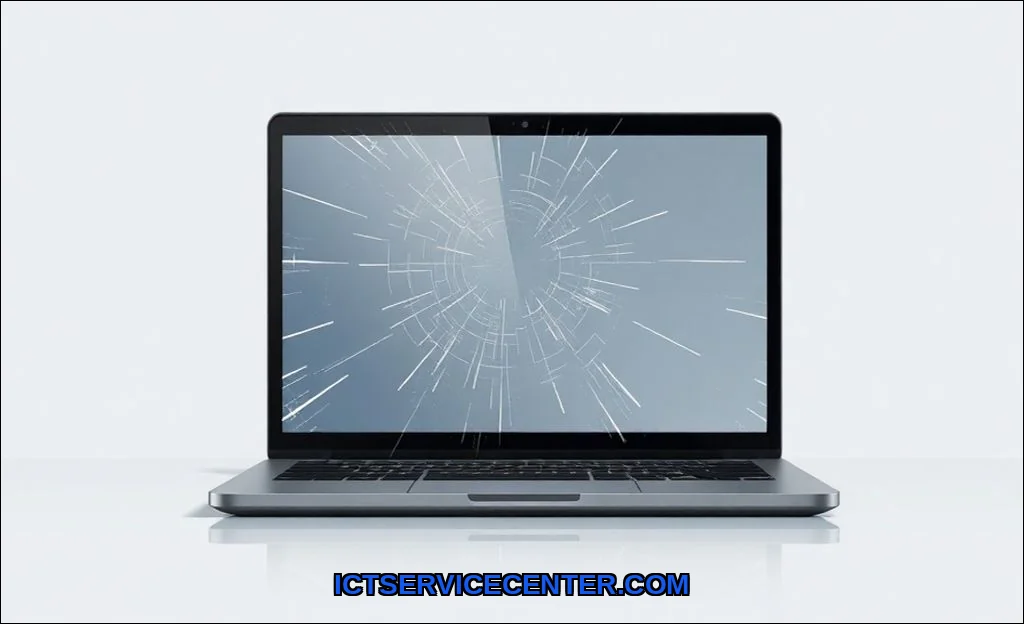
Modern laptop screens are marvels of engineering, but they’re surprisingly vulnerable. Most use a hard plastic or glass surface that’s coated with anti-glare or oleophobic layers. These coatings are often softer than the substrate beneath them. That means a seemingly harmless piece of grit, a rough zipper on a case, or even constant contact with the keyboard can leave a mark. I’ve found that glossy screens, while offering vibrant color, tend to show every single micro-abrasion under direct light. Matte screens hide fine scratches better but can be more susceptible to deeper gouges from sharp objects.
The biggest culprit, in my experience, is the keyboard itself. When you close the lid, the keys press directly against the screen. Over time, dust and debris trapped between them act like sandpaper. This is why a simple piece of fabric or a specific accessory can make all the difference. It’s also why your approach to screen care needs to be proactive, not reactive.
My Top 5 Methods That Actually Work
After testing dozens of products and techniques, these are the five strategies I rely on daily. They’re a mix of accessory solutions and behavioral changes.
- Use a Quality Screen Protector. This is your first and best line of defense. It’s a sacrificial layer that takes the abuse instead of your actual screen.
- Employ a Keyboard Cover. This thin silicone or TPU mat sits over your keys, creating a soft, clean barrier between them and the display.
- Master the Microfiber Cloth Method. Proper cleaning is prevention. Using the wrong cloth is a guaranteed way to cause swirl marks.
- Invest in a Proper Carrying Case. Not all bags are created equal. You need dedicated, padded protection for transit.
- Adopt Smart Handling Habits. This is the free, behavioral layer that ties everything together.
The Microfiber Cloth Method I Swear By
Cleaning your screen seems straightforward, but I’ve ruined a monitor or two in my early days by being careless. Paper towels, shirt sleeves, and rough tissues are the enemy. They contain wood fibers that are harder than your screen’s coating. My ritual is simple. First, I power down the laptop and let the screen cool. A warm screen can cause cleaning solutions to streak.
I keep a dedicated, clean microfiber cloth in my laptop bag. For light dust, a dry wipe in one direction (never circles) is enough. For smudges, I dampen a corner of the cloth with distilled water or a 70% isopropyl alcohol solution. Why 70%? Higher concentrations like 90% evaporate too quickly and can leave residue, while 70% has the right balance of cleaning power and evaporation time. I never spray liquid directly on the screenalways onto the cloth. This is the core of how to clean a laptop screen without scratching it.
Screen Protectors: Which Ones I’ve Tested
This is where personal preference meets practicality. I’ve tested three main types: glossy, matte (anti-glare), and privacy.
- Glossy Protectors: These preserve the original screen’s color and clarity almost perfectly. Brands like 3M excel here. The downside? They’re fingerprint magnets and add glare.
- Matte Protectors: These are my go-to for most work laptops. They diffuse light, reducing reflections and hiding minor imperfections. The trade-off is a very slight “sparkly” texture that can mute colors just a touch.
- Privacy Protectors: These are niche but great for open offices. They darken the screen from side angles. I find they often require increased screen brightness, which can affect your laptop’s battery life and eye strain.
For a balance of clarity and protection, I often point people towards a good matte film. For instance, a 2-Pack 156 Inch matte protector is a cost-effective way to get two tries at a perfect application. Having a spare is a lifesaver.
Accessories: More Than Just Add-Ons
Let’s talk about the keyboard cover debate. Does a keyboard cover prevent screen scratches? Absolutely. It stops keycap wear patterns and dust from ever touching the display. The caveat? Ultra-thin laptops have minimal clearance. A thick cover might put pressure on the screen. I measure the gap with a piece of paper first. If it closes easily with the paper inside, a thin silicone cover should be fine.
For travel, a laptop sleeve inside your backpack is non-negotiable. But for maximum dust prevention and impact protection, a hardshell carrying case is superior. Look for one with a rigid frame and a soft, fleece-lined interior. I treat the sleeve as a dust guard for around the house and the hardshell case as my travel armor. When choosing a laptop for long work sessions, considering how you’ll protect it on the go is part of the equation.
What NOT to Do (From My Mistakes)
I’ve learned these lessons the hard way so you don’t have to.
- Never use household glass cleaners. Ammonia and other chemicals will permanently degrade anti-glare coatings, creating a cloudy, sticky mess.
- Avoid compressed air on a vertical screen. It can force debris deeper into the bezel or, worse, behind the panel itself.
- Don’t stack items on your closed laptop. A book, your phone, keysthe pressure can transfer through the lid and press the keyboard into the screen.
- Skip the “scratch removal” kits for deep marks. They often work via abrasion, removing a layer of the coating entirely. You might erase the scratch but create a visible dull spot.
When Prevention Fails: Dealing With Existing Scratches
So you’ve got a scratch. First, assess it. Run your fingernail gently across it. If it catches, it’s a deep groove in the top layer. If it doesn’t, it’s likely just in the anti-smudge coating.
For very fine, superficial “cleaning” scratches in the coating, a specialized polishing compound might lessen their appearance, but this is risky and requires immense patience. For a deep scratch, the only true fix is a screen replacement. At that point, weigh the cost against the value of your laptop. Sometimes, living with it (as frustrating as that is) is the most economical choice. For comprehensive care beyond just the screen, ASUS has a solid guide on general laptop maintenance and longevity practices.
Building Your Screen Defense Strategy
Maintain screen clarity isn’t about one magic product. It’s a system. Start with the basics: a dedicated microfiber cloth and smart handling. From there, add layers based on your lifestyle. A frequent traveler needs a rugged carrying case. Someone in a dusty environment should prioritize a keyboard cover and regular dust prevention cleaning.
My personal setup? A matte screen protector, a thin keyboard cover, a microfiber cloth in my desk drawer, and a padded sleeve for my daily commute. It takes seconds of habit to avoid scratches that would otherwise last the life of the machine. Your screen is the most personal point of interaction with your device. A little focused effort to protect display quality pays off every single time you open the lid.