
 By
Setting up a new laptop takes about 30 minutes: plug it in, connect to Wi-Fi, sign in, run every update, then make a recovery drive and switch on backup before moving a single file. The order matters: both jobs are far easier on a clean, empty machine.
In short: Work through one timed pass. First 10 minutes: power, language, region and Wi-Fi. Next 10: sign in with a Microsoft account (or Apple ID on a Mac), set a PIN and turn on Find My Device.
Last 10: run Windows Update until nothing is left, including optional driver updates. Then, the same day, create a recovery drive on a USB stick of at least 16 GB and turn on backup. Install nothing of your own until the updates finish.
Key takeaways
- Stay plugged into mains power for the whole session, so an update never stops halfway.
- Run Windows Update, optional driver updates and Microsoft Store updates before installing anything of your own.
- Make the recovery drive on day one, while Windows is clean. It needs a USB stick of at least 16 GB, and it gets wiped.
- Turn backup on before you copy files across, not after the first scare.
- Remove trial software and games, but leave drivers and the maker’s update app alone.
What you need before you switch it on
Keep the charger plugged in. A first setup can restart several times, and an update that loses power midway can leave the laptop unable to start. The other half of this decision is maximizing your device utility.
Have these four things beside you:
- Your Wi-Fi name and password. Use your home network, not a shop or café network, for sign-in and updates.
- The email address and password for your Microsoft account, or your Apple ID if the laptop is a Mac.
- A USB flash drive of at least 16 GB for the recovery drive. Everything on it will be erased.
- Your phone. Account sign-ins often ask for a code sent by text or an authenticator app.
If the laptop was a gift or a refurbished unit, check the storage and memory against the listing before you go further. Our guide to what laptop specs matter most shows where Windows lists both.
The first 10 minutes: power, language and Wi-Fi
Press the power button and follow the setup screens. Pick your country or region, then your keyboard layout. Windows asks for a second layout on the next screen; choose Skip unless you type in two languages.
Connect to your home Wi-Fi when prompted. Windows 11 Home needs an internet connection and a Microsoft account to finish setup on most new machines. Name the laptop something you will recognise in your account, such as Kitchen-Laptop or Sam-Study-PC.
Warning: Do not do this first sign-in on public Wi-Fi in a store or café. You will type account passwords and receive security codes during setup. Wait until you are home, or use your phone hotspot for sign-in and home Wi-Fi for the large updates.
Sign in and set up your accounts
Sign in with your Microsoft account. That one account switches on settings sync, stores your device encryption key and powers Find My Device. A work or study account can be added afterwards in Settings > Accounts > Email & accounts.
Next, set a sign-in method that is quick enough that you will actually use it:
- Open Settings > Accounts > Sign-in options.
- Under PIN (Windows Hello), choose Set up and pick a PIN of at least six characters. A PIN works only on this laptop, so a leaked password does not expose it.
- If the laptop has a fingerprint reader or an infrared camera, set them up on the same screen, then test by locking with Win + L and signing back in.
On a Mac: sign in with your Apple ID at the top of System Settings, then set up Touch ID under Touch ID & Password if your model has it. The other half of this decision is desktop owning nightmare.
Run every update before you install anything
New laptops often ship with a Windows build that is months old. Updating now, before your programs and files arrive, means one clean restart cycle instead of several broken installs.
- Open Settings > Windows Update and choose Check for updates.
- Install everything offered, restart when asked, then check again. Repeat until the page says you are up to date.
- On the same page, open Advanced options > Optional updates and install the driver updates listed there, which fix common first-week Wi-Fi, sound and touchpad problems.
- Open the Microsoft Store, choose Library at the bottom left, then Get updates, so the built-in apps update too.
- Open the maker’s app (Lenovo Vantage, Dell SupportAssist, HP Support Assistant or MyASUS) and run its update check once for firmware updates.
Expect 15 to 40 minutes depending on your connection. Leave the laptop plugged in and let it finish, even if the screen sits on a percentage for a while. Microsoft’s Windows Update guide covers stuck updates. On a Mac, updates live in System Settings > General > Software Update.

The table below sums up the main setup steps, where each one lives, and how long to allow for it.
| Step | Where in Settings | Time |
|---|---|---|
| Sign in and set a PIN | Settings > Accounts > Sign-in options | About 5 minutes |
| Turn on Find My Device | Settings > Privacy & security > Find my device | About 2 minutes |
| Run Windows Update | Settings > Windows Update | 20 to 30 minutes |
| Turn on OneDrive backup | OneDrive icon > Settings > Sync and backup | About 5 minutes |
| Make a recovery drive | Start menu search > Recovery Drive | About 20 minutes |
If the laptop feels slower once the updates land, work through our guide to a laptop slow after a Windows update before you blame the hardware.
Make a recovery drive while the laptop is clean
A recovery drive is a USB stick that can reinstall Windows when the laptop will not start. It takes about 20 minutes to make, works best while the system is still clean, and is the step most people skip until the day they need it. Our explainer on what System Restore is shows how recovery tools are used after a failure.
- Plug in a USB flash drive of at least 16 GB. Move anything you want to keep off it first.
- Press the Start button, type Recovery Drive, and open the app of that name.
- Leave Back up system files to the recovery drive ticked, choose Next, select your USB drive, then choose Create.
- When it finishes, label the stick with the laptop model and the date, and store it somewhere safe.
Warning: Creating a recovery drive erases everything on the USB stick. It does not back up your personal files, photos or programs. It carries Windows itself only, which is why the next section matters just as much. The other half of this decision is desktop setup steps.
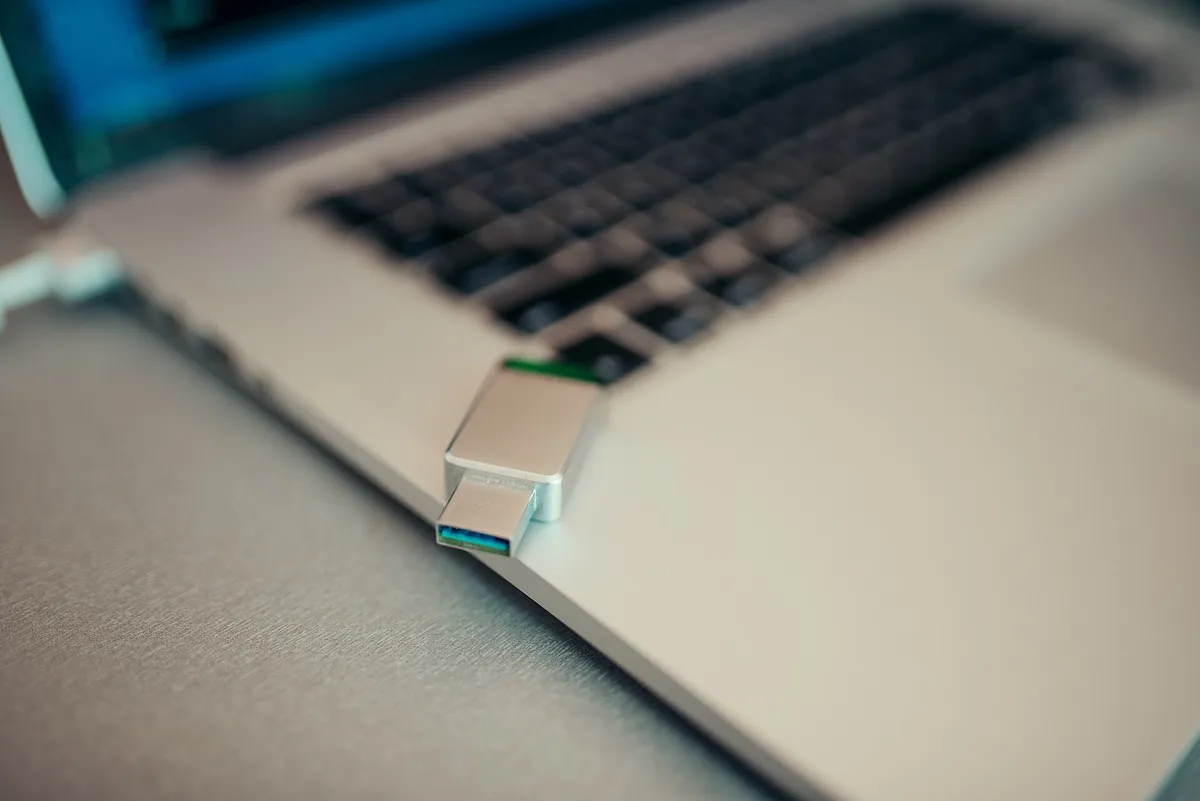
At 128 GB it holds the Windows recovery image with room to spare, and USB 3.0 keeps the creation time down compared with an old USB 2.0 stick.
See options on AmazonTurn on backup today, not after the first scare
Backup set up on day one protects every file you add later, and Windows 11 gives you two easy options.
OneDrive: click the cloud icon near the clock, open Settings > Sync and backup > Manage backup, and switch on Desktop, Documents and Pictures. Files then copy to your account storage as you work. Our explainer on cloud backup vs local backup covers the basics.
An external drive: plug in a USB hard drive, then open Control Panel > System and Security > File History and choose Turn on. File History keeps earlier versions of files, so it also rescues you from saving over a document by mistake. For a full routine, follow our step-by-step laptop backup guide.
On a Mac, plug in an external drive and open System Settings > General > Time Machine for automatic backups. Apple’s Mac setup guide covers the same first-day choices.
Remove the bloatware, keep the drivers

Most new laptops arrive with trial antivirus suites, games and shopping apps. Removing the ones you will never open frees storage and stops pop-ups, but the list also holds drivers the laptop needs.
- Open Settings > Apps > Installed apps.
- Sort by name. Uninstall expired trial software, game launchers you do not use, and duplicate media players.
- Leave maker entries that mention drivers, firmware, audio, graphics, battery or updates. Leave Microsoft Visual C++ and .NET entries alone; other programs depend on them.
- Restart once, then confirm sound, Wi-Fi and the touchpad still work.
Tip: If a name means nothing to you, search the exact name plus your laptop model before removing it. When in doubt, leave it: an unused app costs a little storage, a missing driver costs an evening.
Finish the safety and power settings
Four quick settings close out the first day:
- Find My Device: open Settings > Privacy & security > Find my device and switch it on, so a lost laptop shows up in your Microsoft account.
- Device encryption: on the same page, open Device encryption and confirm it is on. Your recovery key is saved to your Microsoft account when you sign in.
- Windows Security: open the Windows Security app and check that Virus & threat protection shows no actions needed. The built-in protection is enough for most people.
- Power: open Settings > System > Power & battery and set screen and sleep times you can live with, so the laptop is not sleeping mid-download or awake all night.
Plug the charger into a surge protector rather than a bare wall socket, especially in areas with storms or unreliable power. One surge can damage a charger or the laptop’s power circuit, and the protector is cheap insurance.

Six outlets cover the laptop charger, a monitor and a lamp, and the 6 ft cord reaches the wall without stretching across the room.
- Features 6-outlets and 900 joules of surge protection to guard your home, office, and
- Lighted on/off switch offers one-touch control. 15A resettable breaker cuts power if
More first-week help, plus guides for older laptops, lives in the Basics & How It Works hub section.
For the physical side of the same problem, see our guide to protecting a laptop from theft.
Mistakes to avoid
Installing your programs before the updates. Installers fail or half-register on an out-of-date build. Fix: finish Windows Update, optional updates and Store updates first, in that order.
Skipping the recovery drive until later. Later usually means after the first serious fault, when the laptop will not start. Fix: create it on day one, while Windows is clean, and label it.
Deleting every maker app as bloat. The maker’s update tool and audio or graphics utilities are not bloat; removing them can kill the touchpad or sound. Fix: uninstall trials and games, keep anything tied to hardware.
Setting up on battery. A firmware update interrupted by an empty battery can brick a new machine. Fix: stay plugged in for the whole session.
Copying files across before backup exists. The copy becomes the only version during the riskiest week of the laptop’s life. Fix: turn on OneDrive or File History first, then move files in.
Frequently asked questions
How long does it take to set up a new laptop?
Plan on 30 to 60 minutes. Sign-in takes about 10 minutes, updates take 15 to 40 minutes depending on your connection and how old the shipped Windows build is, and the recovery drive takes around 20 minutes. Much of it is waiting, so plug the laptop in and check back between restarts.
Do I need a Microsoft account to set up a Windows 11 laptop?
On Windows 11 Home, yes, for most new machines: setup requires an internet connection and a Microsoft account. Pro offers more flexibility during setup. You can add a local user afterwards in Settings, Accounts, Other users, but keep the main account, since it stores your encryption key and powers Find My Device.
What size USB stick do I need for a Windows recovery drive?
At least 16 GB, and the stick is erased during creation, so use one with nothing on it that you need. A 32 GB or larger stick costs little more and leaves comfortable headroom. Label it with the laptop model and date, because a recovery drive is matched to the machine it was made on.
Should I remove all the preinstalled apps on a new laptop?
No. Remove trials, games and shopping apps you will never open, but keep the maker’s driver and update tools, graphics and audio utilities, and Microsoft Visual C++ and .NET components. Removing hardware utilities can break the touchpad, sound or battery settings, and saves little storage anyway.
Do I need to install antivirus software on a new laptop?
For most people, no. Windows Security is built into Windows 11, updates itself, and includes real-time virus and threat protection. Open the app once during setup and confirm it reports no actions needed. Uninstall any preinstalled trial antivirus you will not pay for, so two suites are not scanning at once.
Should I charge a new laptop to 100% before using it?
No special first charge is needed. Modern lithium batteries have no memory effect. The one rule for setup day is to stay plugged in, because updates and restarts should not be interrupted by an empty battery. After setup day, charge and use it however suits your routine.
Bottom line: Do the boring steps in the right order today: updates first, recovery drive second, backup third, and only then your files and programs. That one disciplined session turns a future dead laptop or failed update from a disaster into an inconvenience.
Sources: Microsoft Support (Update Windows; Create a recovery drive), Apple Support (Set up your Mac). Photos: Pexels and Unsplash contributors, credited per image in the publishing plan.