
 By
The fans spin, the maker logo appears, and then nothing. Work through the checks in order: the stage where it stops names the faulty part.
In short: A PC that will not boot past BIOS is failing POST, the self-test before Windows loads. Read the beep codes or debug LEDs first, then work in order: unplug peripherals, reset CMOS, test one RAM stick, reseat the graphics card and storage, and check boot order and drive detection. Update the BIOS only last: a failed flash can brick the board.
Key takeaways
- Stuck on the BIOS screen means POST failed, not Windows.
- Beep codes and debug LEDs name the failing part.
- Work the fix path in order and test after each step.
- A BIOS update is the last step and needs stable power for the whole flash.
What POST is and where your PC stops
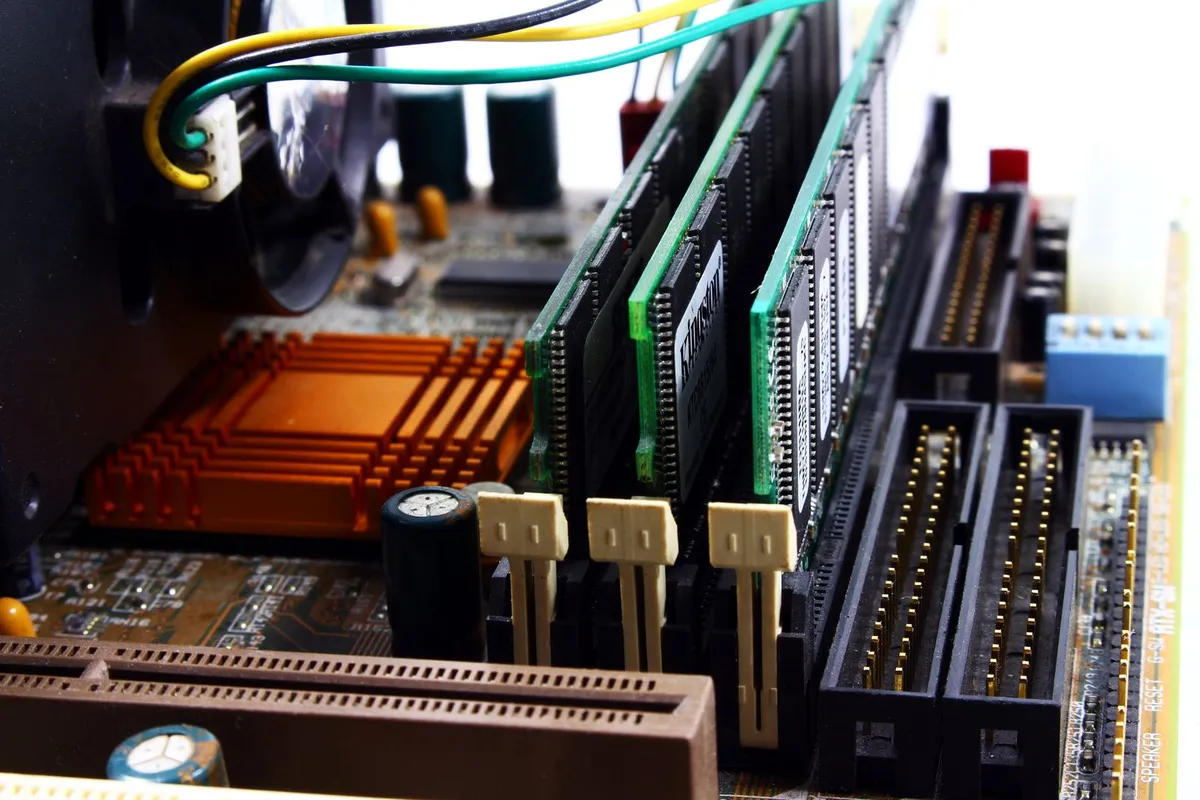
POST stands for power-on self-test. Each time you press the power button, the firmware checks the CPU, memory, graphics card and storage before handing control to the bootloader. If a check fails, it stops there and shows the logo screen or a blank screen: the PC never reached Windows. It helps to understand resolving charging inconsistencies before going further.
Startup has four stages: power on, POST, boot order, and Windows. A Windows repair tool cannot help a PC that never leaves POST. Read how the startup sequence runs from power-on to Windows, and our guide to what happens during BIOS initialization.
Note what you see on the next restart: the maker logo with no spinning dots, a black screen, or “No bootable device found”. A logo with no dots means POST is stuck; “No bootable device” means POST passed and no drive was found. Note what changed first.
Power off and unplug the PC before you open the case. Hold the power button for 10 seconds to drain leftover charge. On a laptop, disconnect the battery before touching the board. Never open a swollen battery: take the laptop to a shop instead.
Read what the PC is telling you: beep codes, debug LEDs and POST codes
When the screen cannot show an error, the firmware reports the fault another way: beeps, LEDs, or a two-digit code display.
Beep codes are short and long beeps in a set pattern, repeated until you power off. The meaning depends on the maker and model, so confirm it in the manual for your exact board.
Dell lists these codes for Inspiron and XPS desktops: 1 BIOS ROM fault, 2 no RAM detected, 3 chipset fault, 4 RAM failure, 5 real-time clock power loss (usually a flat CMOS battery), 6 video fault, 7 CPU fault.
Dell lists these codes in its guide to beep codes on Dell desktop PCs. Other makers use different patterns. Count the beeps, write down the number, then look the pattern up in the maker manual.
Many modern boards replace beeps with debug LEDs. Four small LEDs near the CPU or RAM slots are often labelled CPU, DRAM, VGA and BOOT; the one that stays lit names the stage that failed. Some boards also have a two-digit POST code display. If the board has no speaker, no LEDs and no code display, a POST diagnostic card can fill the gap.

A POST card shows the two-digit code where the board stopped, which points at the failing part when there are no beeps or LEDs.
- *** MUST see the 3rd pictures in listing that highlights the correct PCI slots to work
- This starter kit comes with 1 large PCI test board and 1 small laptop test board for
Match the symptom to the cause
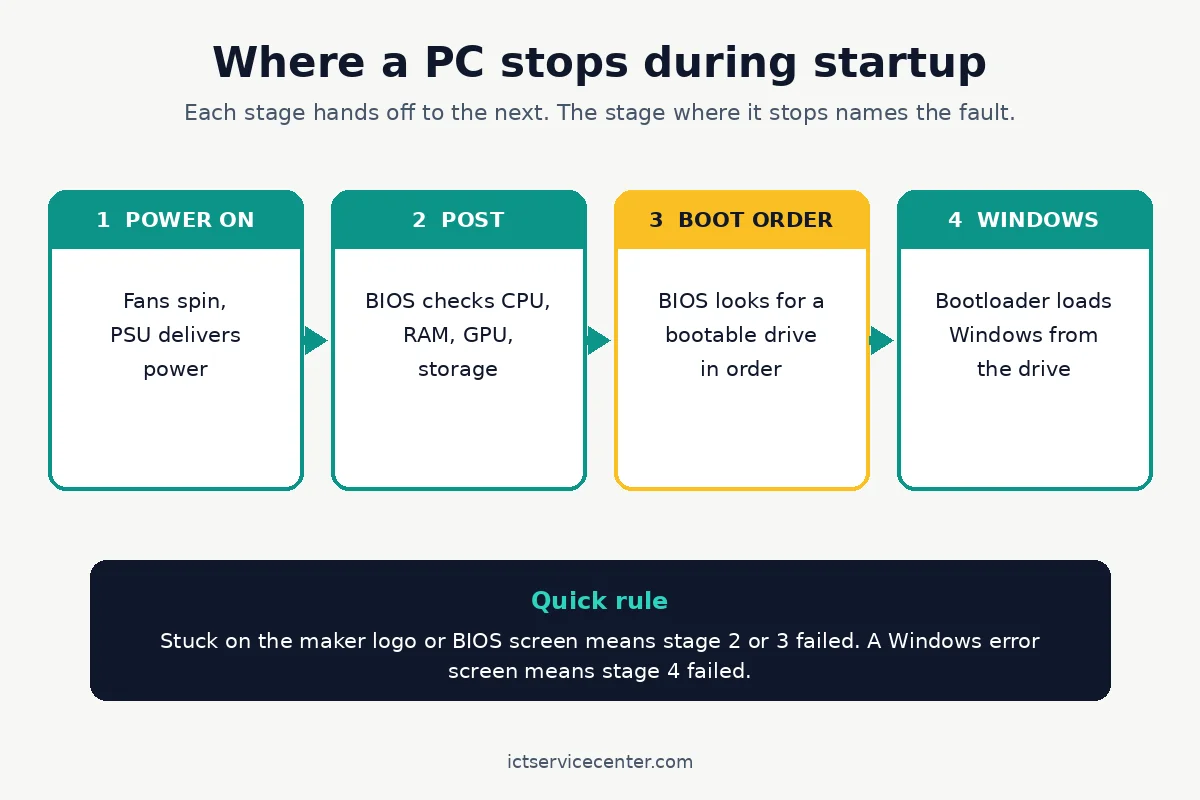
Match what you see and hear to the most likely cause, then jump to the matching step below. Loaders in this spot often ask about windows upgrade freeze as well.
| Symptom | Likely cause | Fix |
|---|---|---|
| Maker logo, no spinning dots | POST stuck | Unplug peripherals, reset CMOS, test RAM |
| Repeating beeps | Part named by the code | Look up the code, reseat that part |
| DRAM LED lit, or 2 or 4 beeps on a Dell | RAM not detected | Test one stick at a time |
| VGA LED lit, or 6 beeps on a Dell | Loose or faulty card | Reseat the card and cables |
| “No bootable device found” | Drive missing or boot order wrong | Check drive detection and boot order |
| BIOS screen loops back | Bad settings or flat CMOS battery | Reset CMOS, replace the battery |
If your symptom is not in the table, start at the top of the fix path anyway.
The ordered fix path
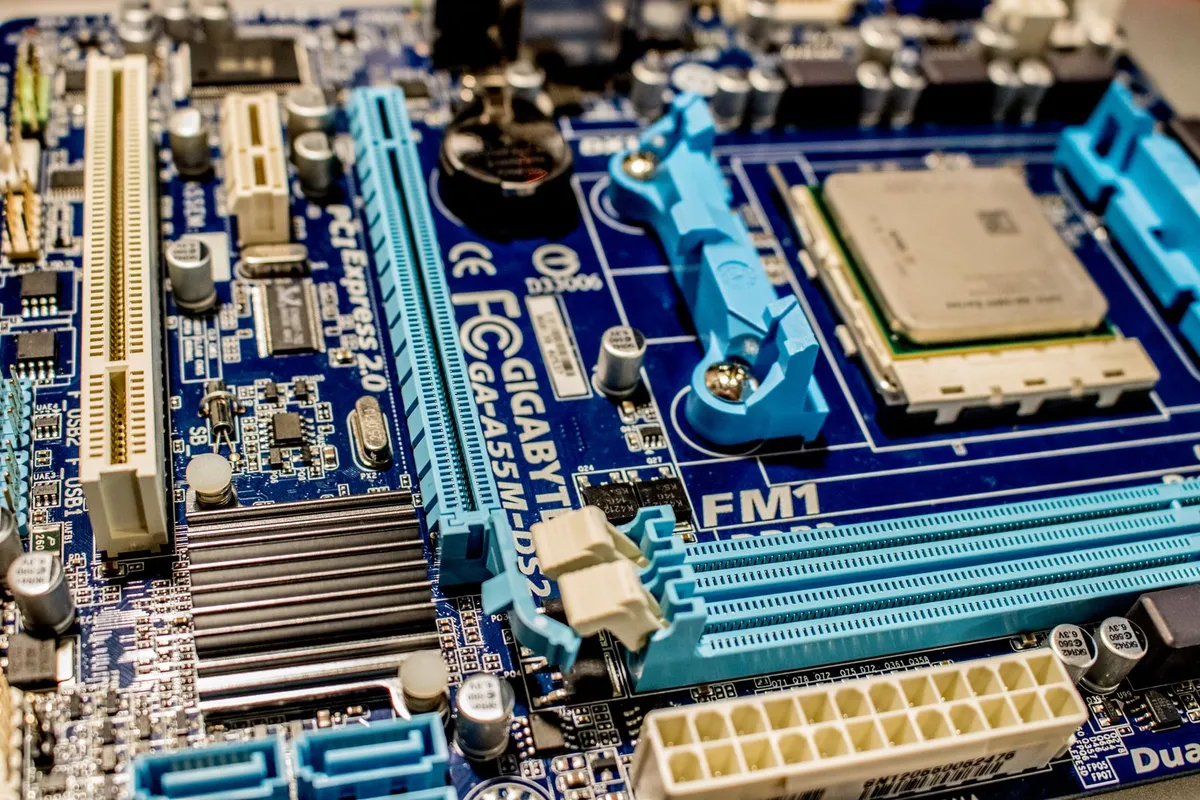
Work these steps in order, testing the PC after each one. Stop as soon as it boots past BIOS.
- Unplug every peripheral except the monitor, keyboard and mouse. External drives, USB hubs and docks can hold POST up while the firmware waits for them. If it boots, plug the devices back one at a time to find the one that stalls it.
- Drain the power. Shut down, unplug the cable, and hold the power button for 15 seconds. On a laptop, disconnect the battery first. Plug back in and try again.
- Reset the CMOS. With the PC off and unplugged, remove the round CR2032 battery, wait five minutes, and put it back with the plus side up. Some boards have a CLR_CMOS jumper instead: move it to the clear position for 10 seconds, then back. A reset also clears a bad overclock or a wrong boot setting.
- Test one RAM stick. Remove all but one stick and fit it in the slot the manual lists first, often the second slot from the CPU (A2). If POST still fails, try another slot, then another stick. If one stick boots and another does not, that stick is the fault. Push each stick in until both end clips click. Our guide to RAM faults that stop a laptop booting covers the same test.
- Reseat the graphics card and storage. Remove the graphics card and push it firmly back in until the latch clicks. Reconnect its power cables fully: a loose 6-pin or 8-pin cable can stop POST. Then push SATA cables firmly into the drive and the board, or refit an M.2 drive.
- Check boot order and drive detection. Enter BIOS with the maker key (often Del or F2). Confirm the Windows drive is first in the boot order and listed on the Storage page. If the drive is missing, repeat step 5. If it is listed but not first, move it to the top, save with F10, and restart.
- Update the BIOS only if every step above has failed. The section below covers it.
If the PC boots after any step, stop there and back up your files: a part that failed once can fail again.
Check boot order and drive detection in BIOS
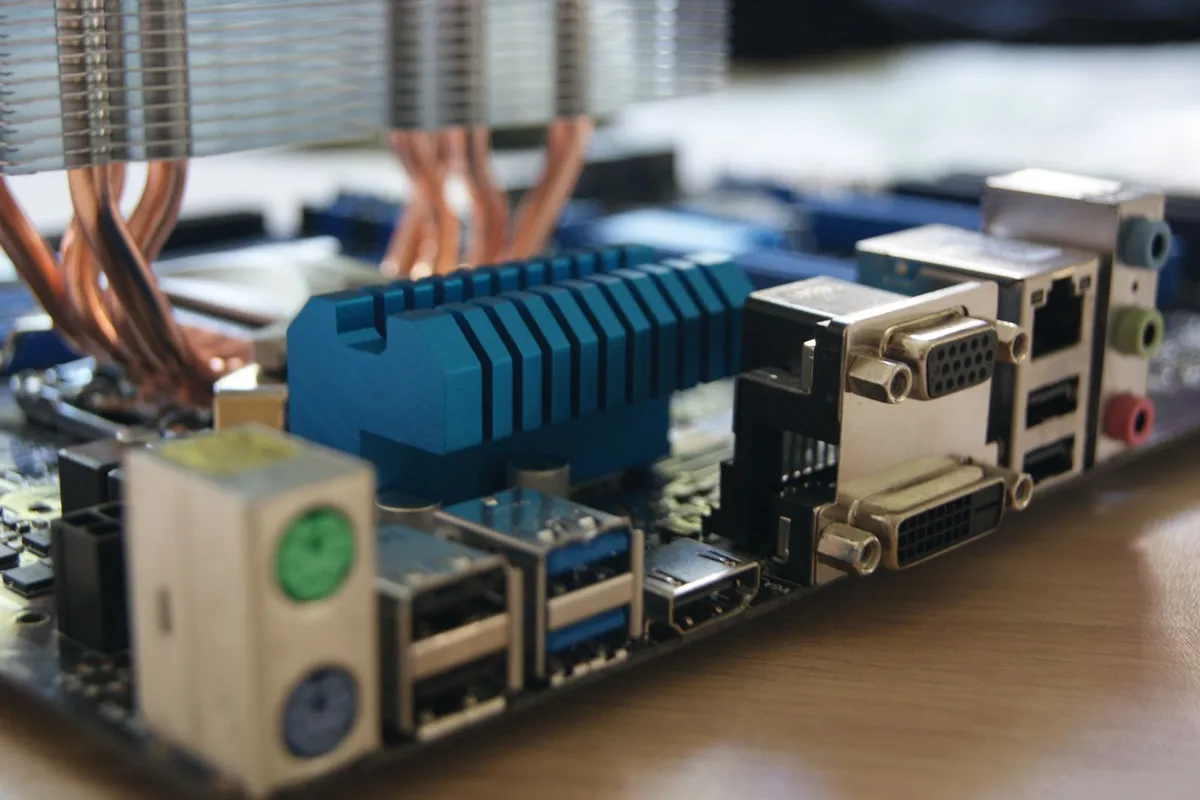
When POST passes but the PC still will not boot past BIOS, the firmware is looking for Windows in the wrong place. Open BIOS with Del or F2 and look at the Boot page: the Windows drive should sit at the top.
If a USB stick or a network boot entry sits first, move the Windows drive to the top, save with F10, and restart. Read how boot priority affects startup.
Next, check whether the drive is detected at all. On the Storage or Main page, the BIOS lists every connected drive by model name. If your drive is missing, the problem is the connection: refit the SATA cables at both ends. For an M.2 drive, lift it out and push it back in, then tighten the screw. A drive that appears after reseating was loose, not dead.
Also check the boot mode. A Windows 11 install made in UEFI mode will not boot if the BIOS is set to Legacy or CSM mode, and the reverse is true for older installs. Change the mode only if you know which mode the install used. If the drive is listed and first, yet the PC still returns to BIOS, the drive or its boot files may have failed.
BIOS update as a last step
A BIOS update can fix a stuck POST screen caused by a firmware bug, a new CPU the old BIOS does not recognise, or corrupt settings a CMOS reset could not clear. It is the last step: if power is lost during the flash, the board may never start again.
Update only from the maker support site, with the BIOS file for your exact board or PC model. A file for a different model can brick the board. Read the release notes: if they do not mention your fault or your hardware, skipping the update is the safer choice.
Before you flash, plug the PC into a wall socket and use a UPS if you have one.
Most makers offer a flash tool inside BIOS, often called EZ Flash, Q-Flash, or M-Flash: copy the BIOS file to a FAT32 USB stick and select it in the tool. Do not touch the keyboard or power button while the flash runs.
If the flash fails and the board has a BIOS Flashback button, the manual covers how to re-flash from a USB stick. If it has no recovery option, it needs a shop.
Write down your BIOS settings before a CMOS reset or a BIOS update, especially the boot order and any RAID or XMP setting. A reset returns them to defaults.
When the fault is past BIOS, and when to get help
If the PC now passes the logo screen but Windows will not load, the fault has moved to stage four. Let Windows Recovery Environment open after two failed starts, or open it from a Windows USB.
From there, choose Troubleshoot > Advanced options > Startup Repair. Microsoft describes the tool in its Startup Repair guide and its Windows Recovery Environment guide. It fixes missing system files and corrupt boot data, but not a drive BIOS does not detect.
Some stuck-boot cases are different problems. A PC that restarts in a loop points at a driver or update fault. A laptop that will not boot at all may have no power reaching the board.
Take the PC to a shop when the same beep code returns after reseating the part, when the debug LED stays on the CPU stage, or when the board shows no signs of life after a failed BIOS flash.
Check the warranty terms first: opening the case or flashing the BIOS can void it. A flat CMOS battery is worth replacing yourself: if the clock resets every time you unplug the PC, it is likely flat.

A fresh CR2032 restores BIOS settings and the clock on a desktop board whose old battery no longer holds a charge.
- Designed To Fit Dell Alienware Alpha & Alienware Steam Machine - CMOS motherboard
- Resolves Flashing Yellow Light (YLOD) issue - Full motherboard reset must be performed
Mistakes to avoid
Flashing the BIOS first. A BIOS update is the riskiest step here. Work the safe steps first: most stuck POST screens clear long before a flash is needed.
Changing several parts at once. If you reseat the RAM, graphics card and drive in one go and the PC boots, you will not know which part was at fault.
Forgetting the CMOS battery. A flat CR2032 battery makes BIOS settings reset and the PC loop back to the BIOS screen. Check it before you buy a new board.
Working inside a live PC. Touching parts with the power cable connected risks a short that can kill the board. Unplug the cable first.
Guessing the beep code. Beep codes differ between makers and models. Confirm the pattern in the manual for your exact model before you order anything.
Frequently asked questions
Why is my PC stuck on the BIOS screen?
The PC is failing POST, the self-test that checks the CPU, RAM, graphics card and storage before Windows loads. A loose part, a faulty RAM stick, a flat CMOS battery, or a wrong BIOS setting can stop POST. Read the beep codes first.
How do I get past the BIOS screen on a desktop PC?
Unplug all peripherals except the monitor, keyboard and mouse, then restart. If that fails, reset the CMOS, test one RAM stick at a time, and reseat the graphics card and storage. Then check boot order. Update the BIOS only as a last step.
What does it mean when my PC beeps and will not boot?
The beeps are a code that names the failing part. On Dell desktops, two beeps means no RAM detected and five beeps means the CMOS battery has failed. Count the beeps, then look the pattern up in the manual for your exact model.
Can a dead CMOS battery stop a PC booting past BIOS?
Yes. A flat CR2032 battery makes the BIOS forget its settings and the clock every time power is cut, and the PC can loop back to the BIOS screen. Replacing it is cheap: power off, unplug, fit the new one plus side up.
Should I update the BIOS to fix a stuck POST screen?
Only as a last step, after the safe checks have all failed. A BIOS update can fix a firmware bug or add support for a new CPU, but a power cut during the flash can brick the board. Update only from the maker site.
Bottom line: Read the beep codes or debug LEDs, then work the fix path in order and leave the BIOS update until last. For more fixes, browse the Troubleshooting hub.
Sources: Microsoft Support, Startup Repair; Microsoft Support, Windows recovery environment; Dell Support, Understanding Beep Codes on a Dell Desktop PC. Photos: Valentine Tanasovich, Jeremy Waterhouse, Pixabay, Sergei Starostin, Muffin Creatives via Pexels. Diagram: ICT Service Center.