I spilled coffee on my MacBook Pro last year. Not a proud moment. The sticky keys and erratic cursor jumps were a nightmare, forcing a deep clean I wasn’t prepared for. Since then, I’ve treated my laptop keyboard like the high-touch, germ-harboring, crumb-collecting surface it is. A clean keyboard isn’t just about aesthetics; it’s about performance, longevity, and frankly, hygiene. Let me walk you through the safe, effective process I’ve developed from trial, error, and a few close calls.
For this project, many professionals recommend using a dedicated Keyboard Cleaning Kit. I keep one in my desk drawer. It bundles the right toolslike a soft-bristle brush and safe cleaning solutionso you’re not improvising with household items that can cause damage.
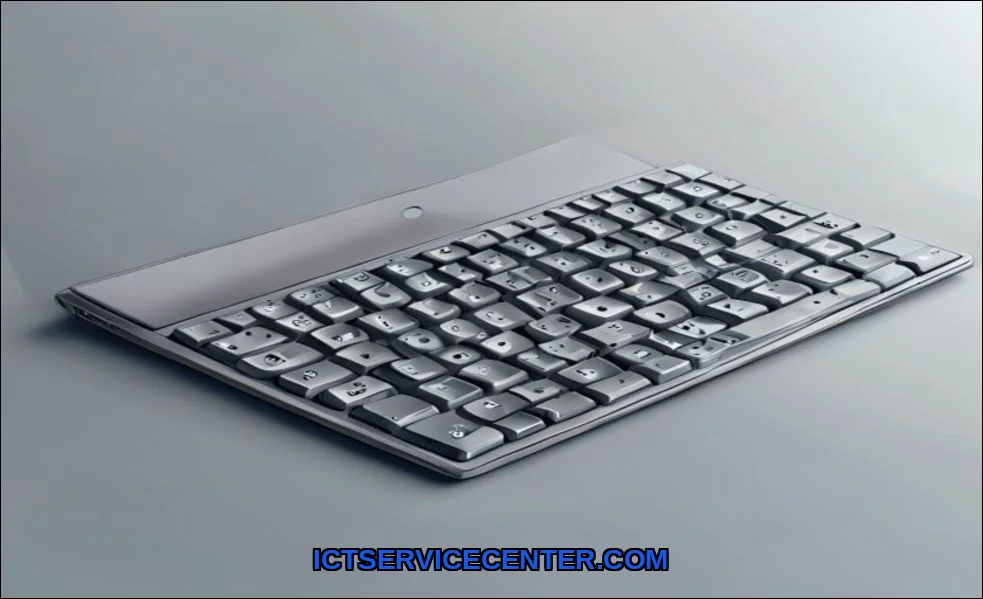
Why a Clean Keyboard Matters More Than You Think
Think about it. Your fingers are on those keys for hours. You snack, you cough, you transfer oils and skin cells. That grime doesn’t just sit there. It works its way under the keycaps, gumming up the delicate scissor switches or membrane layers beneath. I’ve seen keyboards fail because a single grain of sand lodged in the wrong spot. Regular keyboard maintenance prevents sticky keys, unresponsive presses, and can even save you from a costly repair. It also directly impacts your device’s resale value. A clean machine tells a story of care.
Gathering Your Safe Cleaning Arsenal (What I Actually Use)
You don’t need much. But using the wrong thinglike a paper towel that scratches or a harsh cleaner that strips coatingsis a common mistake. Heres my go-to kit:
- Compressed air: The MVP for dislodging dust and crumbs without touching the keys.
- Isopropyl alcohol (70% or less): My gold standard for disinfecting. Higher concentrations evaporate too fast and can be harsh. I dilute it with distilled water (70/30 mix).
- A microfiber cloth: The kind you’d use on a screen. Lint-free and gentle.
- A soft-bristle brush: A small, clean makeup or paint brush works wonders for sweeping debris from around the key edges.
- Cotton swabs: For precision work around the trackpad and key edges.
- For the brave: A keycap puller. Essential if you’re deep-cleaning a mechanical keyboard, but use extreme caution on a laptop.
A Quick Note on Keyboard Types
Most laptops use membrane or scissor-switch keyboards (common on Dell, HP, and Apple MacBook models). They’re more sealed but harder to clean under. True mechanical keyboards (often in gaming laptops) have removable keycaps, making a deep clean easier but also riskier if you’re not careful. The process I outline works for both, with clear warnings where they differ.
The Step-by-Step Deep Clean I Follow
This is my routine every month or after any major spill. Patience is key.
- Power off and unplug. This is non-negotiable. Turn the laptop completely off and disconnect the power cable and any peripherals. Safety first.
- Hold the laptop at a 75-degree angle and use short bursts of compressed air to remove dust laptop debris. Angle the can to blow debris out and away from the device. Don’t shake the can, and never turn it upside downyou’ll spray freezing propellant.
- Dampen a corner of your microfiber cloth with your isopropyl alcohol solution. Wring it out completely. It should be damp, not wet.
- Wipe the keycaps and the deck between them using gentle, circular motions. Avoid dripping liquid. I focus on the high-touch keys: spacebar, enter, the home row.
- Use a dry corner of the cloth to immediately wipe away any moisture.
- For grime in the crevices, I dip a cotton swab in the alcohol, squeeze it out, and carefully run it around the base of each key.
Special Cases: Tackling Spills and Sticky Keys
A spill on keyboard is a panic moment. Here’s my immediate response protocol:
- Instantly power down and disconnect everything. Don’t even wait for a shutdown sequence.
- Turn the laptop upside down in a “tent” shape over a towel to drain the liquid away from the internal components.
- Leave it like that for at least 24 hours. Do not use a hairdryerfocused heat can warp plastic and drive moisture deeper.
- After it’s fully dry, you’ll likely need to address sticky keys fix issues. The alcohol-dampened cloth method above is your first line of defense for sticky residue.
For a truly gummed-up key, you might consider careful keycap removal. On a mechanical keyboard, a puller is safe. On a standard laptop keyboard, I rarely recommend it. The plastic clips are fragile. If you must, research your specific model firsta Dell Latitude keycap removal is different from a MacBook’s.
Common Cleaning Mistakes I’ve Learned to Avoid
I’ve made or seen these all. Learn from my errors.
- Using disinfectant wipes straight from the container. Most are too wet. The excess moisture can seep under the keys and damage the circuit board. If you ask, “can I use disinfectant wipes on my laptop keyboard?” my answer is: only if you wring them out first.
- Spraying any liquid directly onto the keyboard. Always apply to the cloth, never the device.
- Using vinegar, window cleaner, or abrasive cleaners. They can degrade anti-glare coatings and plastics.
- Ignoring the USB ports and vents. A quick blast of compressed air here during your cleaning session prevents dust buildup that affects your laptop processor’s ability to cool itself.
- Being too rough. These are precision components, not kitchen counters.
What About Backlit Keyboards?
They need extra care. The LEDs under the keys can be sensitive. Use less moisture and be meticulous about drying. The same isopropyl alcohol solution is safe, but be extra conservative.
How Often I Clean My Keyboard & Maintenance Tips
So, how often should I clean my laptop keyboard? My rule is tiered:
- Weekly: A quick pass with a dry microfiber cloth to remove surface oils and dust.
- Monthly: The full deep-clean process outlined above.
- Immediately: After any spill or exposure to sticky/sandy environments.
Good keyboard hygiene is part of a broader maintenance mindset. Just like you manage how much storage your laptop should have, you maintain its physical parts. It extends the life of your entire machine. For a broader look at system care, the HP guide on essential computer maintenance tips aligns well with this philosophy.
Start treating your keyboard as the critical interface it is. A few minutes of mindful cleaning prevents hours of frustration. You’ll feel the difference with every crisp, responsive keystroke. Your laptop will thank you for it.