
Ive pulled more laptop hard drives than I can count. Some were smooth, quick operations. Others? A frustrating puzzle of hidden screws and fragile ribbon cables. This guide is the one I wish Id had years ago. Ill walk you through every step, from backing up your data to choosing your next drive. Lets get your old drive out safely.
Before You Start: Backing Up Your Data
First things first: back up your data. This isn’t a suggestion. It’s the rule. I learned this the hard way after a static shock killed a perfectly good drive. You don’t want to lose family photos or critical work files.
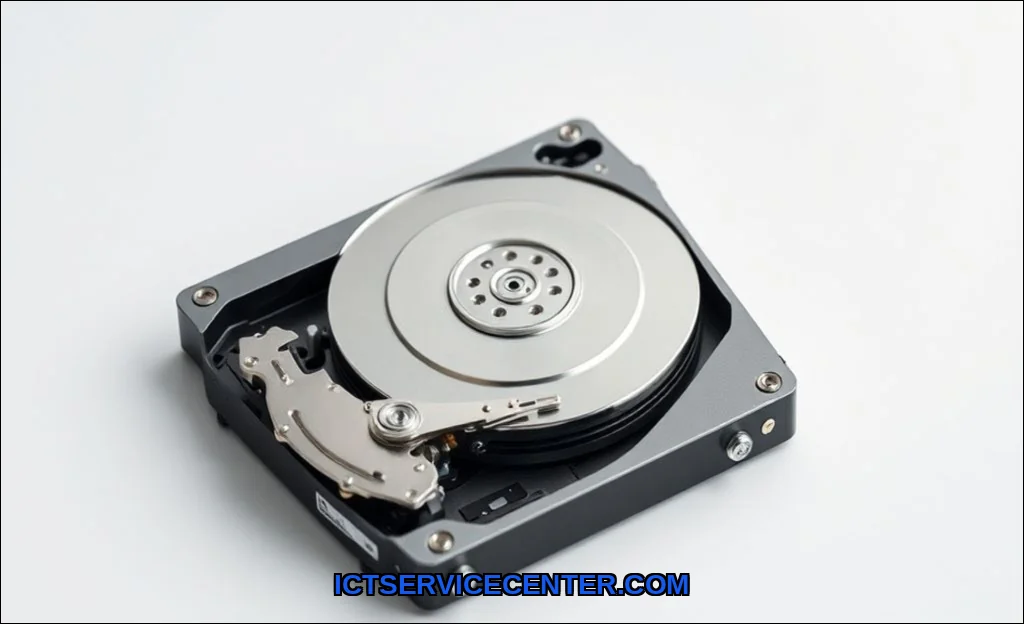
I always use a reliable external drive for this. For this project, many professionals recommend using the Seagate Portable 2TB. Its fast, durable, and gives you plenty of room for a full system image. Just plug it in, drag your important folders over, or use backup software. Cloud backup options are also solidGoogle Drive, iCloud, or Backblaze. But I prefer having a local copy first. Its faster to restore.
If your laptop won’t boot, you might need to back up your data before removing the hard drive using a USB bootable recovery tool. Ive done this with a Linux live USB. It works. But its more complex. If youre unsure, a repair service might be safer. This is especially true if youre worried about laptop hard drive removal without losing data.
Also, check your warranty. Some manufacturers void it if you open the case. Its a pain, but its the reality. Ive seen HP and Lenovo laptops with stickers over the screws. If that matters to you, reconsider.
Gathering the Right Tools
You dont need a full workshop. But having the right gear makes the job easier. Ive stripped a few screws in my time. Trust me, its annoying.
What You’ll Need
- Laptop hard drive removal tool kit: A small kit with precision screwdrivers (Phillips #00 and #0 are common). I use an iFixit kit. Its worth the investment.
- Anti-static wrist strap: Seriously. Static electricity can kill a drive. I clip mine to a metal part of the laptop chassis. Ground yourself.
- Plastic spudger or guitar pick: For prying open stubborn cases. Metal tools can scratch.
- Small container for screws: Magnetic tray is best. Ive lost screws in carpet. Don’t be me.
- Flashlight: Some laptop interiors are dark. A decent light helps you see screw locations and connectors.
Ive also used a magnetic screwdriver for tight spots. But be careful with magnets near the drive. Keep them away from the platters on old mechanical drives.
Identifying Your Drive Type: SATA vs. NVMe
Before you start unscrewing, know what youre dealing with. The removal process is different for each. Ive swapped both, and the difference is night and day.
| Feature | SATA Drive | NVMe Drive |
|---|---|---|
| Form Factor | 2.5-inch, thicker (7mm or 9.5mm) | M.2 stick, thin and small |
| Connector | Two parts: data and power | Single edge connector |
| Screw Type | Usually 4 Phillips screws on caddy | One small Phillips screw holding the stick |
| Location | Dedicated drive bay or caddy | Directly on motherboard |
| Removal Difficulty | Moderate (more screws, cables) | Easy (just one screw, pull out) |
| Common in | Older laptops (2015 and before) | Modern ultrabooks (Dell XPS, MacBooks) |
Ive seen many people confused by this. If you have a 2.5-inch drive, its SATA. If its a thin stick, its NVMe (or sometimes SATA M.2, but thats less common). Knowing this changes your approach. The SATA vs NVMe removal process is completely different. Dont force anything.
Some laptops, like older Lenovo ThinkPads, use a laptop hard drive caddy. You pull the whole caddy out, then unscrew the drive from it. Ive done this on a T420. Its straightforward but requires a bit of wiggling.
Step-by-Step: Removing the Hard Drive
Alright, lets get to it. Ill break this down into clear steps. Ive done this dozens of times, so I know the pitfalls.
Step 1: Power Down and Disconnect
Shut down the laptop completely. Not sleep. Not hibernate. Full shutdown. Then unplug the power adapter. Remove the battery if its removable. For sealed batteries (like in many Dell and HP models), I just ensure its fully off and grounded. A battery disconnect is ideal. If you can pop it out, do it.
Step 2: Ground Yourself
Put on that anti-static wrist strap. Clip it to a metal part of the laptops chassis (like the hinge base). Touch a metal desk lamp or faucet first. Static is invisible. Ive zapped a drive before. Its not fun.
Step 3: Access the Drive Bay
Flip the laptop over. Look for a panel marked with a hard drive icon or labeled HDD or SSD. Some laptops (like many HP models) have a single large panel covering the RAM, drive, and Wi-Fi card. Others (like some Lenovo models) have a dedicated small panel.
Unscrew the panel screws. Keep them in your magnetic tray. Ive lost a screw under a couch before. Not again.
Step 4: Remove the Drive
For SATA drives: Youll see a metal caddy or bracket. Its usually held by 2-4 screws. Remove those. Then gently pull the drive away from the connector. It might have a plastic pull tab. If not, use your spudger to gently pry it out. Dont yank. Ive snapped a connector once. Its annoying.
For NVMe drives: Youll see a small stick at an angle. Theres one screw holding it down. Remove that screw. The drive will pop up at an angle. Then gently pull it straight out. Its that simple. Ive done this in under 30 seconds.
If the drive is stuck, check for a hidden screw. Some laptops have a screw on the side or under a sticker. Ive seen this on some Dell models.
Step 5: Remove the Drive from the Caddy
If your drive is in a caddy, unscrew the four small screws holding it to the caddy. Then lift the drive out. Youll need to reuse this caddy if youre replacing the drive. Keep it safe.
What to Do After Removal: Reuse or Replace
Youve got the drive out. Now what? Ive done both paths.
Reuse as External Drive
This is my favorite option. You can remove laptop hard drive and use as external storage. Buy a cheap USB enclosure (around $10-15). Slide the drive in. Plug it in. Boom. Instant external drive. Ive done this with an old 500GB drive. Its great for backups or media files.
If you want to access the data, just connect it to another computer. It should show up as a drive. If not, it might need formatting. But you already backed up, right?
Replace with a New Drive
This is the classic upgrade path. If youre doing a laptop hard drive replacement, youll need to install the new drive in the caddy. Then reverse the steps. After that, youll need to reinstall the operating system on the new drive. Ive done this with a Windows USB installer. Its straightforward. Boot from the USB, follow the prompts. Done.
If youre upgrading to an SSD, youll notice a massive speed boost. Ive done this on an old Dell Latitude. It went from slow to snappy. Night and day.
Data Recovery
If the drive failed, you might need professional help. Ive had drives click and stop. Thats mechanical failure. DIY recovery is risky. A repair service is safer. But you can try connecting it externally first. Sometimes it works.
If youre struggling with detection issues after reinstallation, check out our guide on troubleshooting a laptop hard drive that isn’t detected. Ive used that advice myself.
Common Mistakes and How to Avoid Them
Ive made most of these mistakes. Learn from my pain.
- Forgetting to back up: Ive done it. Lost a year of photos. Dont skip this step. Use the Seagate Portable 2TB or a cloud service.
- Using the wrong screwdriver: Stripped screws are a nightmare. Use the correct Phillips head. Ive had to drill out a screw. Its messy.
- Forcing the drive out: If it doesnt come easily, check for hidden screws or tabs. Ive bent a SATA connector before. Its fragile.
- Ignoring static protection: Ive fried a drive with static. Its silent and instant. Use the wrist strap.
- Mixing up screw types: Panel screws and drive screws are often different lengths. Ive put a long screw in a short hole. It cracked the motherboard. Keep them separate.
- Not checking the warranty: Ive voided a warranty by opening a sealed laptop. Check first. If its under warranty, consider using the manufacturers service.
- Forgetting to remove bloatware: After reinstalling the OS, youll often get junk software. I always clean that up. Heres a guide on how to remove bloatware from your laptop for a clean start.
Another common issue is not knowing when to call it quits. If youre stuck, its okay to seek help. Ive used repair services before. Check out 10 signs you might need professional laptop repair to know when to step back.
Removing a laptop hard drive is one of the most satisfying DIY upgrades you can do. Its straightforward, cost-effective, and gives you total control over your data. Ive done it on everything from a cheap Acer to a high-end Dell XPS. The process is nearly identical. Just take your time, follow the steps, and keep your data safe. Youve got this.