Fix Laptop Screen Resolution Issues in Windows
A fuzzy screen or blurry text on your laptop is more than an annoyance. It’s a productivity killer and a strain on your eyes. You’re not alone in facing this; laptop screen resolution problems are common and often fixable with a calm, methodical approach.
This guide walks you through the troubleshooting process, from simple software checks to more involved hardware diagnostics. We’ll cover everything from a graphics driver update to checking the internal display cable. If you need a reliable secondary display for testing or work, many users find a portable monitor invaluable. For a highly-rated option, consider the MNN Portable Monitor for its clarity and ease of connection.
Understanding Laptop Screen Resolution Problems
Screen resolution refers to the number of pixels (tiny dots of light) that make up your display. A mismatch between the operating system’s setting, the driver’s capability, or the hardware’s signal causes the issues you see. Symptoms vary widely.
You might encounter a wrong resolution that makes everything too large or small. Blurry text and a fuzzy screen are often tied to incorrect scaling or scaling settings. A black screen or no display upon boot is more severe. Screen flickering and a distorted image can point to deeper software or hardware faults.
Initial Quick Checks and Restarts
Always start with the simplest solutions. They resolve a surprising number of issues.
- Restart Your Laptop: A full restart clears temporary glitches in memory and resets the graphics subsystem.
- Check Physical Connections: If you use a docking station or external monitor, ensure all cables are secure at both ends.
- Boot into Safe Mode: Restart and press F8 (or Shift + Restart in Windows) to enter Safe Mode. If the display is clear here, a software or driver issue is likely.
- Inspect the Screen: Rule out physical damage. Gently clean the surface using our guide on how to clean a laptop screen safely to remove smudges that can mimic a fuzzy display.
Software & Driver Solutions
This is where most resolution problems live. The interaction between Windows, your graphics driver, and application settings is complex.
Adjusting Windows Display Settings
Navigate to Settings > System > Display. Here, you can change the resolution and scaling. Ensure the resolution is set to the recommended value. For laptop screen resolution stuck at 800×600, this menu is your first stop. Also, check the refresh rate; a rate set too low can cause noticeable flicker.
Updating or Reinstalling Graphics Drivers
Outdated or corrupt drivers are a prime culprit for screen flickering and wrong resolution errors.
- Open Device Manager (search in the Start menu).
- Expand “Display adapters.”
- Right-click your adapter (Intel, AMD, or NVIDIA) and select “Update driver.” Choose “Search automatically.”
- If that doesn’t work, select “Uninstall device.” Restart your laptop, and Windows will attempt to install a fresh driver.
For a discrete GPU (like from NVIDIA), also check the manufacturer’s Graphics Control Panel. Its settings can override Windows. For broader troubleshooting steps, HP’s support site offers a useful resource on how to fix common laptop issues.
Addressing OS-Specific Scaling Issues
Scaling problems differ between Windows 10 and 11, especially with multiple monitors. If text looks blurry in some apps, go to Settings > System > Display > Scale & layout. Try adjusting the scaling percentage or click “Advanced scaling settings” to use the custom fix. Sometimes, toggling the setting off and on again forces apps to re-render correctly.
Hardware & Connection Diagnostics
If software fixes fail, a hardware component may be at fault. This requires careful hardware diagnostics.
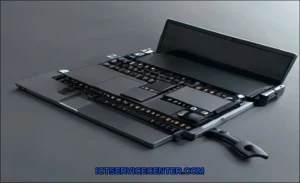
Internal Display Cable and Connections
Inside your laptop, a thin cable (often an eDP cable) connects the motherboard to the screen. It can loosen or degrade over time, causing flickering, color distortion, or intermittent blackouts. Reseating this cable is a common repair, but it requires opening the laptop chassisa step best taken if you’re comfortable or ready to seek professional help.
Integrated vs. Discrete GPU Troubleshooting
Many laptops have two graphics processors: an efficient integrated GPU (like Intel Iris Xe) and a powerful discrete GPU (like an NVIDIA GeForce). Problems can arise during the handoff between them.
- Enter BIOS/UEFI (usually by pressing F2 or Del during boot). If the display works in BIOS but not in Windows, the issue is almost certainly software/driver related.
- Use the discrete GPU’s control software to set a specific application or global setting to use one GPU over the other to test for stability.
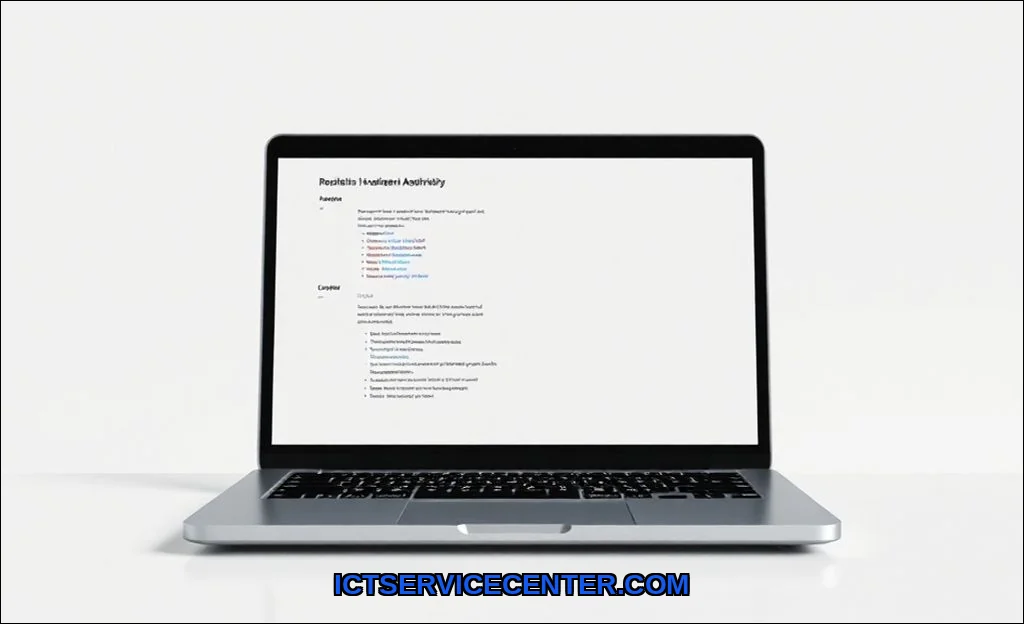
Testing with an External Monitor
This is a critical diagnostic step. Connect your laptop to another monitor or TV via HDMI or DisplayPort.
| External Monitor Result | Likely Problem Area |
|---|---|
| Display is perfect on external monitor | Problem is with the laptop’s internal screen, cable, or connection. |
| Problems persist on external monitor | Problem is with the laptop’s graphics hardware (GPU) or core drivers. |
A clear external display confirms the laptop’s video output is healthy. This narrows the fault to the internal display assembly, a crucial finding for any repair.
When to Seek Professional Repair
Some scenarios strongly suggest professional intervention. If you’ve performed all software steps and the problem persists, especially with physical symptoms, it’s time to consult an expert.
- Persistent Black Screen: The laptop powers on (lights, fans) but the screen remains completely dark, even with an external display test.
- Visible Physical Damage: Cracks, deep scratches, or pressure marks on the LCD panel itself.
- Flickering that Changes with Pressure: If gently pressing on the bottom bezel or a specific area changes the flickering, the cable or connection is likely faulty.
- Diagnosis Points to Internal Hardware: You’ve identified a likely failed display cable or screen panel and are not comfortable performing the repair yourself.
Prevention and Best Practices
Preventive care can extend your screen’s life and minimize issues. Handle your laptop with care, avoiding pressure on the lid or screen. Use a clean, soft cloth for regular laptop screen quality maintenance. Keep your graphics drivers updated, but consider waiting a few days after a major driver release to avoid early-adopter bugs. Adjust power settings to prevent the screen from turning off too aggressively, which can stress the components over time.
For the question of why is my laptop screen blurry and how to fix it, the path is clear. Start with softwaredisplay settings and drivers. Use an external monitor to isolate the issue. Then, consider hardware connections. Most resolution problems have a logical solution. When they don’t, a skilled technician can diagnose the precise fault, whether it’s a simple cable reseat or a panel replacement, getting your clear display back.