Your laptop screen is working, but the external monitor shows a black screen or a persistent “no signal” message. It’s a common and frustrating problem. The good news is that it’s often a simple fix. This guide will walk you through a logical, step-by-step process to get your second screen working again.
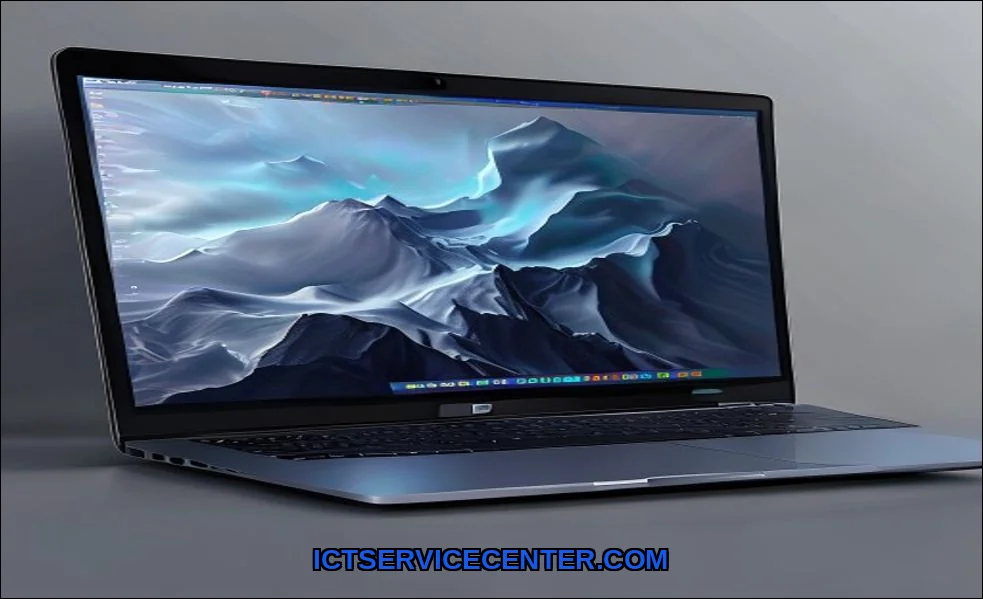
Before diving in, it’s worth noting that using a reliable, high-quality monitor can eliminate many compatibility headaches. For a dependable and crisp viewing experience, many users have success with monitors like the Highwings 4K Display. Its clear compatibility with modern connections can simplify your setup.
Start With the Basics: Physical Connections
It sounds obvious, but most “laptop won’t connect to monitor” issues start here. A loose cable or wrong port is the most frequent culprit.
Step 1: Inspect Cables and Ports
Power everything down. Unplug the video cable from both your laptop and the monitor. Examine the cable for any obvious damage to the connectors or the cable itself. Check both the laptop’s video output port (HDMI, DisplayPort, USB-C) and the monitor’s input port for bent or broken pins.
- Try a different cable: If possible, test with a known-working cable. Cables can fail internally.
- Check adapter compatibility: If you’re using a USB-C to HDMI or DisplayPort adapter, ensure it’s rated for video, not just data/power. A cheap adapter can cause a “USB-C monitor no signal” error.
- Reseat firmly: Plug the cable back in, ensuring a secure connection at both ends.
Step 2: Verify Monitor Power and Input Source
Your monitor might be on, but looking at the wrong input. This is a classic reason for a black screen.
- Confirm the monitor is plugged in and powered on (check for a power LED).
- Press the monitor’s menu or source button. Navigate to the input selection menu.
- Cycle through the options (HDMI 1, HDMI 2, DisplayPort, USB-C, VGA) until you select the port your cable is physically connected to. The correct Input Source is critical.
Configure Your Laptop’s Display Settings
Once physical connections are confirmed, your laptop’s software needs to know what to do with the monitor.
Step 3: Use Windows Display Settings and Projection Modes
With the monitor connected and powered on, press the Windows + P keys on your laptop. This brings up the quick Project menu. You have four Projection Modes:
- PC screen only: Shows image only on your laptop.
- Duplicate: Mirrors your laptop screen to the monitor.
- Extend: Turns the monitor into a second screen, giving you more desktop space.
- Second screen only: Shows image only on the external monitor; your laptop screen goes black.
Cycle through these options (Duplicate, then Extend). Sometimes Windows just needs a nudge. If the monitor appears here, you’ve solved it.
If not, go deeper. Right-click your desktop and select Display Settings. Click “Detect” under the multiple displays section. If your monitor is listed but disabled, select it and choose “Extend desktop to this display” from the “Multiple displays” dropdown. This is where you’d resolve issues like Windows 11 won’t project to second monitor.
Step 4: Update or Reinstall Graphics Drivers
Outdated, corrupted, or incorrect display drivers are a leading cause of an external display not detected. Here’s how to address it.
- Right-click the Start button and select Device Manager.
- Expand “Display adapters.” You’ll see your GPU (e.g., NVIDIA GeForce, AMD Radeon, Intel Iris Xe).
- Right-click the Graphics Driver and select “Update driver.” Choose “Search automatically for updated driver software.”
- If that doesn’t work, right-click again and select “Uninstall device.” Check the box that says “Attempt to remove the driver for this device” and restart your laptop. Windows will attempt to reinstall a fresh driver on reboot.
Pro Tip: For NVIDIA or AMD graphics, visit the manufacturer’s website directly. Use tools like NVIDIA GeForce Experience or AMD Radeon Software for optimal driver updates and display configuration beyond Windows’ basic settings.
Deeper Hardware and System Checks
If the steps above haven’t worked, we need to look at potential hardware conflicts and system-level settings.
Step 5: Troubleshoot Ports and Hardware Conflicts
Sometimes the issue is with a specific port or a system setting that overrides your choices.
- Try a different port: If your laptop has multiple video outputs (e.g., HDMI and USB-C), test the other one.
- Check for power delivery conflicts: Some USB-C ports handle power, data, and video. If you’re charging your laptop through the same USB-C port used for video, try a different power source or port. Power issues can also affect your laptop’s battery charging behavior in related ways.
- Disconnect other peripherals: Unplug all other USB devices, docks, or hubs. A faulty peripheral can cause a system-wide conflict.
Step 6: Advanced System and Power Troubleshooting
These are less common but worth checking if you’re still seeing a black screen.
- Run the Hardware Troubleshooter: Go to Settings > System > Troubleshoot > Other troubleshooters. Run the “Hardware and Devices” troubleshooter.
- Check Power Management: In Device Manager under Display adapters, right-click your GPU, select Properties, and go to the Power Management tab. Uncheck “Allow the computer to turn off this device to save power.”
- BIOS/UEFI Display Settings (Advanced): Restart your laptop and enter its BIOS/UEFI (usually by pressing F2, F10, or Del during boot). Look for display or graphics settings. Some systems have an option like “Graphics Device” set to “Discrete” or “Integrated.” If you have a laptop with dual graphics (like many from Dell, HP, or Lenovo), try switching this setting, save, and exit. Note: BIOS interfaces vary greatly.
Persistent overheating can sometimes cause instability with external displays, much like it can with other components. Ensuring your system runs cool is a good general practice, similar to following guidelines on how to choose a laptop that does not overheat.
Bringing It All Together
Start simple and work systematically. The sequence matters: check the cable and monitor input first, then use Windows + P, followed by driver updates, and finally hardware diagnostics. This methodical approach solves the vast majority of “laptop screen works but external monitor is black” situations.
If you’ve exhausted all these stepsespecially checking cables on another system, updating BIOS, and testing different monitorsthe issue may be a failing hardware component. It could be a damaged video port on your laptop or an internal graphics hardware fault. At that point, consulting a professional technician or your laptop manufacturer’s support is the best course of action. For broader troubleshooting context, you can reference guides from manufacturers, such as this resource on how to fix common laptop issues from HP.
Patience is key. With a calm, step-by-step approach, you’ll likely identify the solution and get back to your productive, multi-screen workflow.
