When your laptop refuses to charge, the immediate panic is understandable. You check the power adapter, try a different outlet, and maybe even restart the system. Nothing works. If the charging cable feels loose or you have to wiggle it at a specific angle to get power, the problem is almost certainly your charging port. This is a common failure point, but it is also one of the most fixable issues you will encounter with a modern laptop.
Before you assume you need a new machine, know that a laptop charging port repair is often straightforward. The DC jack on your motherboard can wear out, become desoldered, or simply break from years of plugging and unplugging. Whether you own an HP, Dell, or Lenovo, the internal mechanics are similar. You can either fix this yourself with the right tools or find a professional repair service. Let us walk through your options calmly, step by step.
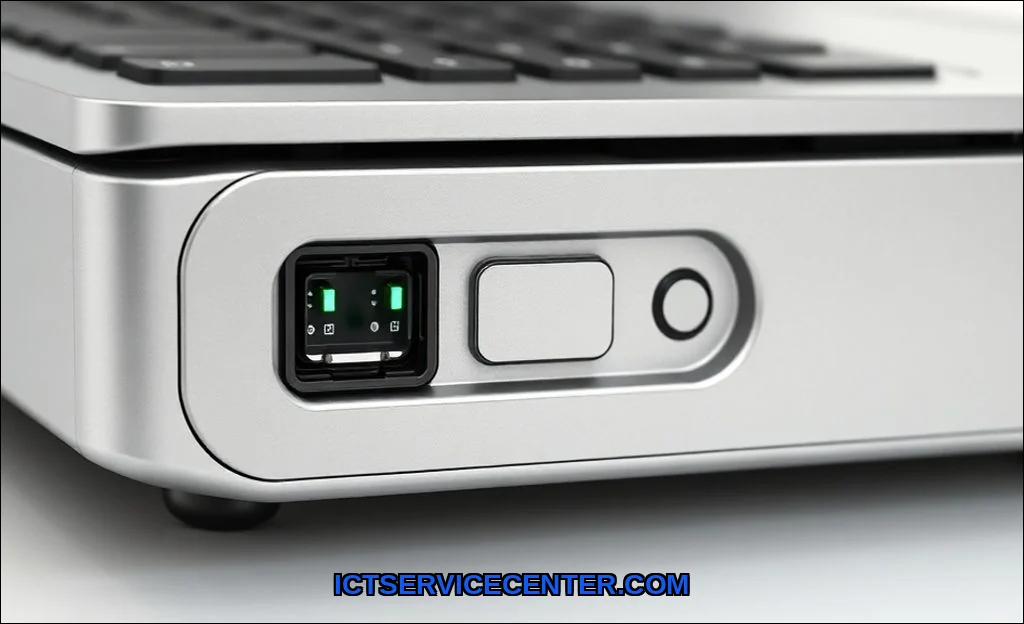
Diagnosing a Faulty Laptop Charging Port
You need to confirm the issue is the port and not the battery or power adapter. A misdiagnosis wastes time and money. Start with the simplest checks first.
Visual and Physical Inspection
Look closely at the charging port. Is it cracked, bent, or pushed inside the laptop chassis? Gently insert your charger. Does it feel loose? A snug fit is required. If the plug wobbles or falls out, the internal pins are damaged. This is a classic sign of a broken charging port.
Testing with a Multimeter
If you have a multimeter, set it to DC voltage. Plug in your charger and test the tip of the DC jack (the center pin) against the outer barrel. You should see the voltage your adapter outputs (e.g., 19.5V). No reading? The issue might be the adapter. A correct reading points to a motherboard-level problem with the port itself.
Checking for Loose Connections
Sometimes the port looks fine from the outside but the solder joints on the motherboard have cracked. If pressing down on the port or wiggling the charger causes the power light to flicker, you have a loose charging port. This is a classic symptom of a cold solder joint.
For this project, many professionals recommend using the GinTai Laptop DC power jack replacement kit, which is available with precise pin configurations for many HP and Dell models.
Safety Precautions Before Starting
Working inside a laptop involves risks. You are dealing with electricity and sensitive components. Take these precautions seriously.
- Disconnect the battery: This is non-negotiable. Unplug the internal battery connector before touching any motherboard components. A stray spark can destroy the system.
- Work on a non-conductive surface: Use a wooden table or an anti-static mat. Avoid carpets.
- Use a grounding strap: Electrostatic discharge (ESD) can kill a motherboard silently. A simple wrist strap connected to a grounded metal object prevents this.
- Keep screws organized: Laptop screws are tiny and vary in length. Use a magnetic mat or labeled containers.
Tools and Materials You Will Need
Having the right gear makes the difference between a successful repair and a damaged motherboard. Do not improvise with household tools.
| Tool | Purpose |
|---|---|
| Soldering iron (adjustable temperature, 30-60W) | Melting and applying solder to the DC jack pins |
| Rosin-core solder (0.8mm or 1.0mm) | Creating strong electrical connections |
| Flux pen or paste | Cleaning oxidation and improving solder flow |
| Desoldering pump or wick | Removing old solder from the motherboard |
| Precision screwdriver set | Opening the laptop chassis |
| Plastic spudger or pry tool | Separating plastic clips without breaking them |
| Multimeter | Testing continuity and voltage |
| Replacement part (exact match for your model) | The new DC jack or charging port assembly |
Step-by-Step Repair Process
This process assumes you have confirmed the port is bad and you have the correct replacement part. If you are unsure about your soldering skills, skip to the next section. But if you are ready, here is the method.
Step 1: Disassembly
Remove the bottom panel of your laptop. This usually involves unscrewing all visible screws and prying the panel off with a spudger. Locate the charging port on the edge of the motherboard. It will be connected by either a ribbon cable (easier) or soldered directly to the board (more common).
Step 2: Removing the Old DC Jack
If the port is soldered, you need to remove the old solder. Heat the soldering iron to 350C (660F). Apply flux to the pins. Use the desoldering pump to suck up the molten solder. You may need to do this several times. Once the pins are free, gently pull the old DC jack out. Be patient. Forcing it can lift the copper traces on the motherboard.
Step 3: Cleaning the Solder Pads
Use solder wick and flux to clean the exposed pads on the motherboard. They should be shiny and smooth. Any leftover solder can cause a poor connection with the new part. Check with your multimeter that there is no short between the pads.
Step 4: Installing the New Port
Insert the new DC jack into the motherboard holes. It should fit snugly. Apply fresh flux to the pins. Heat each pin with the soldering iron and apply a small amount of solder. The solder should flow smoothly and form a small volcano shape around the pin. Do not use too muchbridging pins causes a short.
Step 5: Reassembly and Testing
Before closing the laptop, reconnect the battery and plug in the charger. Check if the power light comes on and stays on. If it works, power down, disconnect the battery again, and reassemble the chassis. If it does not work, recheck your solder joints.
When to Seek Professional Help
Not every repair is a DIY project. Some situations demand a professional repair service. If you encounter any of the following, stop and call a technician.
- Damaged motherboard traces: If you accidentally lifted a pad or tore a trace, the repair becomes a micro-soldering job that requires a microscope and advanced skill.
- USB-C charging port repair: USB-C ports are incredibly small and have many pins. Soldering them without proper equipment often leads to failure. This is best left to experts.
- Liquid damage: If corrosion is present around the charging port, the damage may extend deeper into the motherboard.
- Warranty concerns: If your laptop is still under warranty, opening it voids the coverage. Let the manufacturer handle it.
If you are unsure about the cost, know that charging port replacement cost typically ranges from $50 to $150 for labor plus the cost of the part. A professional will also test the circuit for other issues. For a more comprehensive look at battery-related problems, read our guide on how to fix a laptop battery that is not charging.
Preventing Future Charging Port Damage
Once you have repaired or replaced the port, you want to keep it working. A few habits can extend its life significantly.
Handle the Connector Gently
Always pull the plug by the connector, not the cable. Yanking the cord puts stress on the internal pins of the DC jack. This is the number one cause of a loose charging port.
Use a Magnetic Adapter
Consider using a magnetic charging tip that stays in the port. If you trip over the cord, the magnet disconnects instead of breaking the port. This is a cheap insurance policy.
Keep the Port Clean
Dust and debris can cause intermittent connections. Use compressed air to blow out the charging port every few months. Do not insert metal objects.
For more tips on keeping your connections secure, check our guide on how to protect laptop ports from physical damage. You can also reference this guide from HP on signs you need laptop repair for additional context.
Repairing a laptop charging port is a rewarding skill. It saves you money and extends the life of your device. Whether you choose to solder a new DC jack yourself or hire a professional repair service, the solution is within reach. Take your time, use the right tools, and remember that a calm approach always yields the best results. Your laptop can be charging again by the end of the day.