You Can Handle a Cracked Laptop ScreenHeres How
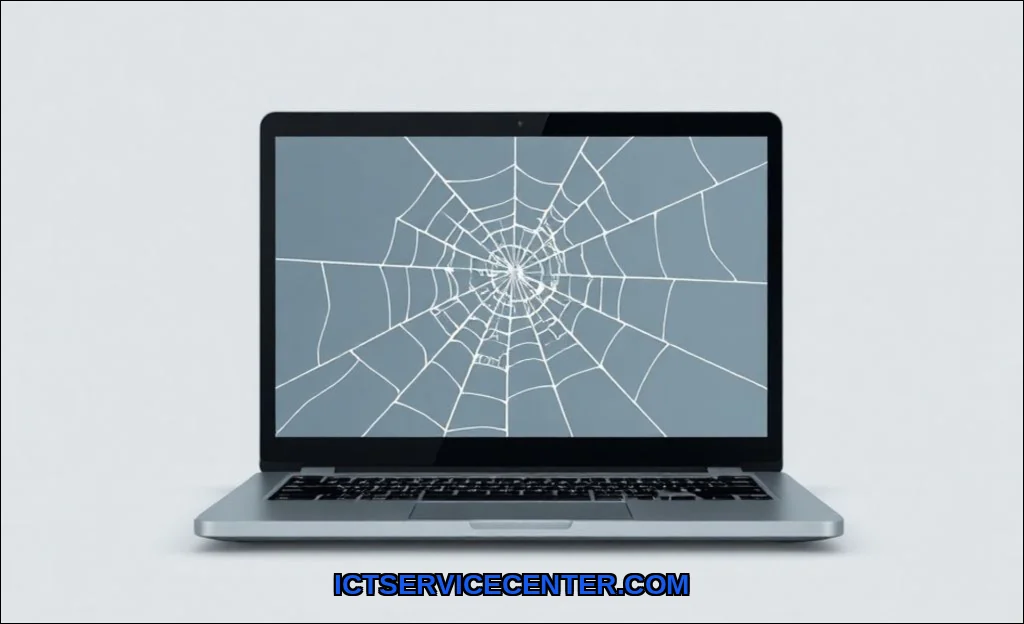
Seeing a crack spiderweb across your laptop display is a sinking feeling. Whether it happened from a drop, a clumsy closure, or an object placed on the keyboard, the immediate question is: Now what? Youre not alonethis is one of the most common hardware issues laptop users face, and the good news is that you have practical options.
Before you panic, take a breath. A cracked laptop screen doesnt always mean a dead machine. Depending on the severity, you might be able to continue using it with a workaround, replace the panel yourself, or opt for professional repair. Well walk through every step so you can make the best decision for your situation and your budget.
Assessing the Damage: Is It Just the Screen or Something Else?
Not every visual glitch after an impact means a broken LCD panel. Start by doing a careful screen damage assessment. Turn off the laptop, then power it back on. Look closely at the display.
- Cracks or black splotches that spread from an impact point usually mean the LCD glass is physically broken.
- Colored lines, flickering, or distortion without visible cracks might indicate a loose or damaged LVDS cable (the ribbon connecting the screen to the motherboard).
- No display at all but the laptop powers on (you hear fans, see keyboard lights) could be a screen failure, a cable issue, or even a motherboard problem.
To confirm, connect an external monitor via HDMI or DisplayPort. If the external display shows your desktop clearly, the problem is isolated to your laptops screen assembly. If the external monitor also shows distortion or no signal, the issue may lie deeperperhaps with the graphics chip or motherboard. This test alone can save you from buying a replacement screen you dont need.
One detail many guides overlook: check if your laptop has a screen digitizer vs LCD distinction. If you own a 2-in-1 like a Lenovo Yoga or a Microsoft Surface, the touch layer (digitizer) is often fused to the glass. A crack in the digitizer might not affect the display image, but it can make touch input erratic. Replacement for these models is more complex and typically costs more.
Immediate Steps to Take After a Cracked Screen
Your first priority is protecting the device from further damage. Glass fragments can shift or fall into the keyboard and hinge area. Heres what to do right now:
- Power down the laptop. Do not close the lid if the crack is severepressure can worsen the damage.
- Back up your data immediately. This is a step many guides miss, but its critical. Use an external drive or cloud service. If the screen dies completely, youll still have access to your files via an external monitor.
- Apply a temporary screen protector (a clear packing tape works in a pinch) over the cracked area to contain glass shards.
- Avoid flexing the lid. Handle the laptop gently to prevent the crack from spreading to functional areas of the display.
For a temporary fix while you decide on a permanent solution, you can use an external monitor workaround. Plug in a monitor, close the laptop lid (if it doesnt obstruct the crack), and use it as a desktop. This is a practical cracked screen temporary solution that buys you time.
DIY Screen Replacement: Step-by-Step Guide
If youre comfortable with basic tools and have a steady hand, replacing a laptop screen yourself is entirely doable. The key is preparation. Youll need your exact laptop model number (usually found on a sticker on the bottom of the chassis) to order the correct LCD panel. Generic universal screens rarely fit properly.
For this project, many professionals recommend using the FULLCOM New 156 screen replacement kit, which includes the panel and necessary tools. Its a reliable choice for 15.6-inch laptops and simplifies the process for first-timers.
Tools Youll Need
- Small Phillips-head screwdriver (usually #00 or #0)
- Plastic spudger or pry tool
- Suction cup (for separating the bezel on glass-covered displays)
- Tweezers (for handling small cables)
- Anti-static wrist strap (optional but recommendedstatic electricity can damage sensitive components)
The Replacement Process
- Remove the battery. If your laptop has a removable battery, take it out. For sealed batteries, disconnect the internal battery connector on the motherboard after opening the case. This is an anti-static precaution that prevents accidental shorts.
- Remove the screen bezel. The plastic frame around the display is held by clips or screws. Pry gently from the inside edge using a spudger. Some bezels are also secured with adhesivetake your time with screen adhesive removal to avoid cracking the bezel.
- Unscrew the LCD panel. Once the bezel is off, youll see screws on the sides or bottom of the panel. Remove them and tilt the screen forward slightly.
- Disconnect the LVDS cable. The ribbon cable is usually taped to the back of the panel. Peel the tape carefully, then lift the connector latch and slide the cable out.
- Install the new panel. Connect the LVDS cable to the new screen, secure it with tape, then mount the panel back into the lid. Replace the screws.
- Reattach the bezel. Snap or screw the bezel back into place. If it uses adhesive, apply new double-sided tape designed for laptop screens.
- Reconnect the battery and power on the laptop. Test the display for brightness, color accuracy, and touch functionality (if applicable).
The entire process takes 30 to 60 minutes for most models. If youre unsure about any step, pause and consult a model-specific video guide. Remember, laptop model compatibility is everythinga screen from an HP Pavilion wont fit a Dell XPS, even if the size matches.
When to Choose Professional Repair Services
DIY isnt for everyone, and thats perfectly okay. Some situations clearly call for a professional repair:
- Your laptop has a fused glass display (common in premium ultrabooks like the MacBook Pro, Dell XPS, or Lenovo Yoga). Replacing these requires separating the glass from the LCD, a delicate process that often damages the glass if done incorrectly.
- The damage extends beyond the screen. If the laptop took a hard fall, the hinges, chassis, or internal components might also be compromised. A technician can do a full diagnostic.
- Youre not confident with electronics. A mistakelike overtightening a screw or damaging the LVDS cablecan lead to more expensive repairs. Its better to pay for a service than risk destroying the motherboard.
- Your device is under warranty. Opening the laptop yourself can void the warranty. Check with the manufacturer first. Some warranties cover accidental damage (though many dont).
Professional shops typically charge a flat labor fee plus the cost of the LCD panel. For a standard 15.6-inch laptop, expect to pay $150$300 total. For premium models with Retina or OLED displays, costs can exceed $500.
Understanding Screen Replacement Costs and Warranty Options
The laptop screen repair cost estimate varies widely based on three factors: your laptop brand, the screen technology, and who does the work.
| Laptop Type | DIY Panel Cost | Professional Repair (Parts + Labor) |
|---|---|---|
| Standard 15.6 (HP, Dell, Lenovo) | $50$90 | $130$200 |
| 13.3 Ultrabook (Dell XPS, Lenovo ThinkPad) | $80$150 | $200$350 |
| MacBook Pro/Air (Retina) | $200$400 | $400$700 |
| 2-in-1 with Touch/Digitizer | $120$250 | $250$450 |
Before ordering parts, always verify your laptop model number using the sticker on the bottom or by checking System Information (Windows) or About This Mac (macOS). A wrong panel wont fit or may not work with your motherboard. For a deeper look at maintaining your display after repair, check out our guide on how to maintain laptop screen quality to extend the life of your new panel.
Warranty options: Some repair shops offer a 30- to 90-day warranty on parts and labor. If you buy the screen yourself from a third-party seller, check the return policydead pixels or compatibility issues happen. For a broader perspective on when to seek professional help, this guide from HP outlines common signs that your laptop needs service beyond just the screen.
Temporary Fixes: Using an External Monitor While You Decide
If you need to use your laptop immediately but arent ready to commit to a repair, an external monitor is your best friend. This is a perfect cracked screen temporary solution that requires zero technical skill.
- Connect a monitor or TV via HDMI, DisplayPort, or USB-C (if your laptop supports video output over USB-C).
- Press Windows Key + P (Windows) or Command + F1 (macOS) to select Second screen only or Extend.
- If the laptop lid is closed, ensure your power settings allow operation with the lid closed (Control Panel > Power Options > Choose what closing the lid does).
This setup lets you work, browse, and even game while your cracked screen sits dormant. Its not a permanent solution, but it buys you weeks or months to save for the repair. Just remember to keep the lid open slightly if the crack is on the glassyou dont want pressure causing more damage.
For tips on keeping your current screen (and future replacements) in top shape, read our guide on how to clean a laptop screen safely to avoid scratches and chemical damage.
Your Next Steps Are Clear
A cracked laptop screen is frustrating, but its rarely the end of your devices life. You have three clear paths: use an external monitor as a short-term fix, replace the screen yourself for a fraction of the cost, or hire a professional for a hassle-free experience. The right choice depends on your budget, technical comfort, and how much downtime you can afford.
Start with the screen damage assessmentconnect that external monitor and confirm the issue. Back up your data, order the correct LCD panel if youre going DIY, or call a local repair shop for a quote. Whatever you decide, you now have the knowledge to move forward without guesswork. Your laptop isnt broken beyond repair; it just needs a little attention.
