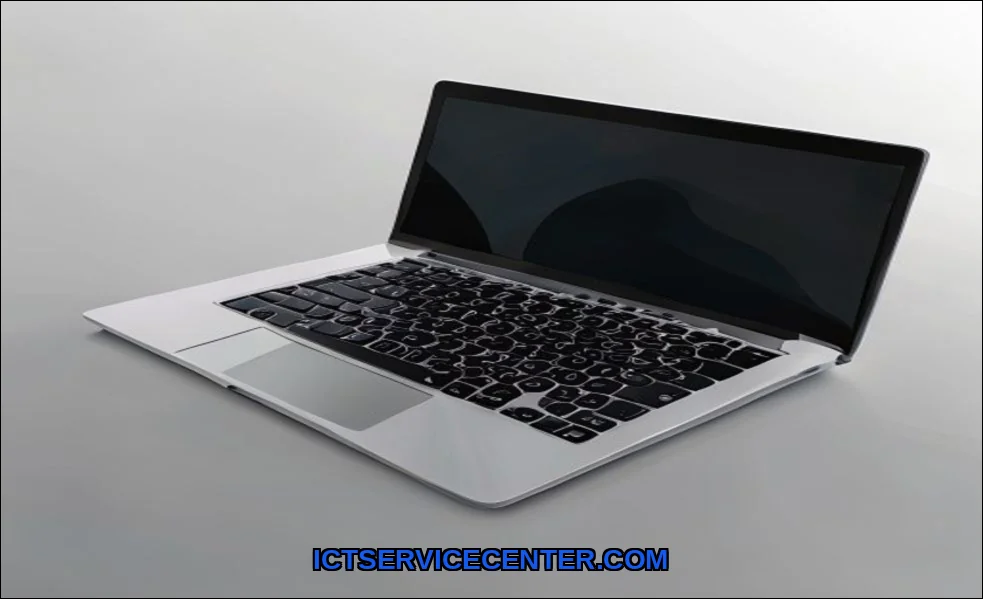
How to Replace a Laptop Touchpad Yourself (Step by Step)
Ive been repairing laptops for years, and the touchpad is one of the most personal components you interact with. When it stops clicking, dragging, or responding, it feels like the whole machine has a limp. Ive replaced dozens of these, from a crusty old Dell Latitude to a sleek HP Spectre, and I can tell you this: its a repair that intimidates most people, but its often simpler than you think. You just need to know where to look, what to touch, and what absolutely not to force.
In this guide, Ill walk you through everything Ive learned from my own hands-on replacements. Ill be honest about the tricky parts (hello, ZIF connectors) and tell you exactly how to replace a laptop touchpad at home without bricking your machine. Lets get into it.
Before You Start Is It Really the Touchpad?
Before you crack open your laptop, you need to rule out software. Ive wasted hours tearing down a laptop only to find a driver conflict or a disabled device. Heres my quick checklist:
- Touchpad not working after a Windows update? Try a touchpad driver reinstall first.
- Is the touchpad physically unresponsive but the keyboard works? Boot into BIOS/UEFI. If the touchpad works there, its 99% a driver issue.
- Did you spill coffee or water on it? Thats hardware damage. Water damage impacts the conductive traces under the surfaceno driver fix will save it.
- Is the laptop touchpad not clicking? Thats often a physical dome switch failure, not a cable problem.
If youve already done a driver reinstall and still have issues, its time for surgery. I also recommend checking our guide on maintaining laptop touchpad performance to see if cleaning or calibration could save you the trouble.
Tools I Used for This Replacement
You dont need a full electronics lab, but you cant do this with a butter knife either. Heres what I grab from my kit every time:
- Laptop disassembly tools: a set of plastic spudgers, nylon pry tools, and a metal spudger for stubborn clips.
- Precision screwdriver set (Phillips #00 and #0 are the most common).
- Anti-static wrist strap or a grounded work mat (trust me, static discharge can kill a new touchpad before you even test it).
- Tweezers (angled ones work best for touchpad ribbon cable work).
- A small container or magnetic mat for screws. You will lose one. I always do.
For this specific project, many professionals recommend using the BestParts New Natural, which is available as a drop-in replacement for many Dell, HP, and Lenovo models. Its not a universal part, but if it matches your model, it saves you the headache of sourcing an OEM piece.
Finding the Right Replacement Touchpad for Your Laptop
This is where most DIY repairs go wrong. You cannot just buy any touchpad that looks similar. Ive learned this the hard way. Heres what you need to match:
- Physical dimensions: Measure your old touchpad width and depth. Even 1mm off means it wont sit flush.
- Touchpad connector types: There are two main cable endsa flat ZIF (zero insertion force) ribbon or a small JST connector. If you get the wrong one, youll need to remove touchpad from motherboard and check the connector pinout.
- Brand-specific quirks: Dell often uses a combined touchpad + button board. HP sometimes integrates the touchpad cable into the keyboard flex. Lenovo ThinkPads have a separate trackpad with a dedicated controller.
- Firmware compatibility: Some modern touchpads require a touchpad firmware update to work with gesture drivers. Check the manufacturers support page for your specific model.
I always search by my laptops exact model number (e.g., Dell Latitude 7490 touchpad) and cross-reference the part number on eBay or Amazon. If youre unsure, iFixits PC Laptop repair guides are a goldmine for identifying compatible parts.
Step-by-Step Removing the Old Touchpad
Alright, lets get our hands dirty. This process varies by brand, but the general flow is the same. Ill use my recent HP Pavilion replacement as the example.
Step 1: Remove the Battery and Discharge
First, power down and unplug. Then remove the battery if its accessible. If its internal, disconnect the battery cable from the motherboard. Press and hold the power button for 10 seconds to drain residual charge. Static discharge is realIve fried a trackpad controller by skipping this step.
Step 2: Access the Touchpad from the Bottom
On most laptops, the touchpad is held in by screws from the bottom case. Remove the entire bottom panel. Look for a small metal bracket or a plastic cover over the touchpad area. Some Dell models have a separate touchpad module you can pop out after removing two screws.
Step 3: Disconnect the Ribbon Cable
Heres the nerve-wracking part. Locate the touchpad ribbon cable going from the touchpad to the motherboard. Its usually connected via a ZIF connector. Flip up the small black latch (dont yank it), then gently slide the cable out. I use tweezers for thisfingernails work but risk tearing the cable.
Step 4: Remove the Touchpad from the Frame
The touchpad is often glued or taped to the palm rest. I use a plastic spudger to gently pry it up. If its held by screws, remove them. Be careful not to bend the touchpadits a thin glass or plastic surface that cracks easily.
Connecting the New Touchpad Cable Handling Tips
This is where Ive seen people ruin a perfectly good replacement. The touchpad ribbon cable is fragile, and the connector is finicky. Heres my method:
- Inspect the new cable: Make sure the contacts are clean and not bent. If theyre folded, gently straighten them with tweezers.
- Insert straight: Slide the cable into the ZIF connector with the contacts facing down (usually). Dont force itif it doesnt slide in, flip the cable over.
- Lock the latch: Push the black latch back down until it clicks. A loose latch means intermittent connectionyour touchpad will work one minute and stop the next.
- Route the cable properly: Make sure the cable isnt pinched when you close the bottom case. Ive had to redo this three times on one Lenovo because the cable kept getting caught under the fan.
If youre dealing with a laptop touchpad repair cost that seems high, this step is why. A professional charges for patience and precision.
Testing the New Touchpad Before Reassembly
Dont screw everything back together yet. I learned this lesson after reassembling a laptop only to find the touchpad was dead because I forgot to plug in the cable. Heres my test routine:
- Connect the battery or plug in the power adapter.
- Boot the laptop. If the touchpad doesnt work immediately, go to Device Manager and look for HID-compliant touchpad or Synaptics / ELAN under Mice and other pointing devices.
- Test all gestures: single tap, double tap, two-finger scroll, pinch-to-zoom. If gestures dont work, you may need a touchpad gesture driver configuration update.
- Check for physical clicking. If the laptop touchpad not clicking, the dome switch under the surface might be misaligned. Ive had to reseat the touchpad because it was sitting too high.
If the touchpad still doesnt work, try a touchpad driver reinstall from the manufacturers website. Sometimes Windows generic drivers dont support the new hardware.
Common Mistakes That Can Ruin Your Repair
Ive made every mistake on this list so you dont have to. Heres what to avoid:
- Forcing the cable into the wrong connector: Some laptops have two similar-looking ZIF connectors (one for keyboard, one for touchpad). Double-check the cable length and orientation.
- Skipping the static discharge: I fried a brand-new touchpad by touching the connector pins while wearing a wool sweater. Use a strap.
- Buying a non-compatible replacement part: If the part number doesnt match exactly, dont assume it works. I once bought a touchpad for a Dell Latitude 5480 that was 2mm too wide. It wouldnt fit under the palm rest.
- Tightening screws too much: The touchpad sits on small plastic posts. Overtightening can crack the palm rest or warp the touchpad surface.
- Ignoring water damage: If your old touchpad failed due to liquid, check the motherboard connector for corrosion. You might need to clean it with isopropyl alcohol before connecting the new part.
One more thingif youre wondering can I replace laptop touchpad without soldering, the answer is almost always yes. Modern touchpads connect via ribbon cables, not solder points. If you see soldered pads, stop and get a different replacement part.
After the replacement, dont forget to clean the surface properly. Ive written a guide on how to clean your laptop touchpad properly to keep your new one working smoothly.
Final Thoughts
Replacing a laptop touchpad isnt rocket science, but it requires patience and a steady hand. Ive done this on a cramped kitchen table and a proper workbenchthe tools matter more than the space. If you follow the steps above, you can save yourself the $80$150 laptop touchpad repair cost that a shop would charge.
My honest take? If youve ever replaced a laptop battery or upgraded RAM, you can handle a touchpad. The trickiest part is the cable connection, but with the right tools and a little care, youll have a fully functional trackpad again. And if you mess up? Thats how you learn. Ive got a drawer full of learning experiences to prove it.