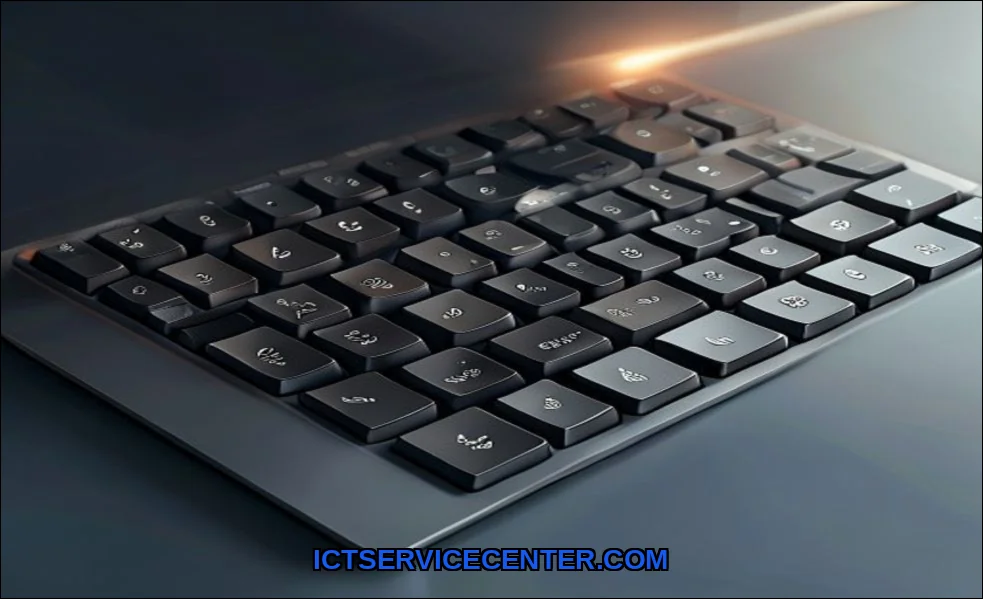
You press the ‘A’ key. Nothing happens. The ‘Enter’ key feels mushy and unresponsive. A laptop keyboard malfunction, where some keys are not working, is a common and deeply frustrating problem. It can halt your work, disrupt communication, and leave you feeling stuck. The good news is that many causes have straightforward solutions you can try yourself.
Before you assume the worst, take a breath. This guide will walk you through a calm, logical process to diagnose and fix your unresponsive keys. We’ll cover everything from quick software checks to deeper hardware diagnostics. In some cases, a simple cleaning or driver update is all it takes. For persistent hardware issues, a replacement keyboard might be the answer. If you’re considering that route, many users find success with a SUNMALL Laptop Replacement keyboard, which offers a compatible and cost-effective solution for many popular laptop models.
Understanding the Problem: Is it Software or Hardware?
The first critical step is identifying the root cause. A software issue affects how your operating system interprets key presses, while a hardware problem is physical damage or failure. Heres a quick way to tell: restart your laptop and immediately tap the F2, F10, or Delete key (varies by brand) to enter the BIOS/UEFI setup menu. If the keys work there to navigate, your hardware is likely fine, and the issue is within Windows or macOS. If they still don’t work in BIOS, it points to a hardware fault.
Step 1: The Quick Restart and System Check
Always start with the simplest solution. A full restart clears temporary system glitches that can cause a keyboard not typing correctly.
- Save any open work and shut down your laptop completely.
- Unplug it from power and remove the battery if it’s easily removable.
- Hold down the power button for 15-20 seconds to drain residual charge.
- Reconnect the battery and power, then turn the laptop back on.
Test the problematic keys immediately. Also, check your system’s Accessibility Settings. On Windows, search for “Filter Keys” and ensure it’s turned off. This feature can sometimes be activated accidentally and ignore brief keystrokes.
Step 2: Software & Driver Troubleshooting
If a restart didn’t help, dive into software. Outdated, corrupted, or missing drivers are a frequent culprit for a keyboard malfunction.
Update or Reinstall the Keyboard Driver
Your Keyboard Driver is the essential software that lets your OS talk to the keyboard hardware.
- Right-click the Start menu and select Device Manager.
- Expand the “Keyboards” section.
- Right-click on your laptop’s keyboard (it may be listed as “Standard PS/2 Keyboard” or similar) and select “Update driver.” Choose “Search automatically for updated driver software.”
- If that doesn’t work, go back, right-click, and select “Uninstall device.” Restart your laptop afterward. Windows will automatically attempt to reinstall a fresh driver upon reboot.
Run a Keyboard Diagnostic
Use an online keyboard tester website. These tools show you in real-time which key presses are being registered by your system, helping you confirm if it’s a specific key or a broader issue.
Check for Conflicting Software
Recent software installations, especially for utilities like macro tools, gaming overlays, or remote access programs, can interfere. Try booting into Windows Safe Mode (hold Shift while clicking Restart) and see if the keys work there. If they do, a third-party program is likely the cause.
Step 3: Physical Inspection and Cleaning
This is often the solution for keys that feel sticky, mushy, or require extra force. Physical Debriscrumbs, dust, hairis the enemy of laptop keyboards.
First, power off the laptop and disconnect it from power. Tilt it sideways and gently tap the base to dislodge loose particles. Use a can of compressed air to blow between the keys at an angle. For more stubborn grime, carefully use a soft-bristled brush. For a comprehensive guide on this process, see our article on how to clean a laptop keyboard safely.
The cleaning method differs between membrane and scissor-switch keyboards (common in most modern laptops). For scissor-switch keys, you can sometimes gently pry up the keycap with a plastic spudger for deeper cleaning, but be extremely cautiousthe tiny plastic clips are fragile.
Addressing Spill Damage
If a liquid spill is the cause, time is critical. Immediately power down, unplug, and remove the battery if possible. Turn the laptop upside down in a “tent” shape to drain. Do not use heat like a hairdryer. Let it dry completely for at least 48-72 hours before attempting to power it on again. Spill Damage often requires professional cleaning to prevent corrosion.
Step 4: Advanced System & Hardware Checks
If software and cleaning don’t resolve your laptop keyboard issue, deeper diagnostics are needed.
System File and Malware Scan
- Open Command Prompt as Administrator and run
sfc /scannow. This scans for and repairs corrupted Windows system files. - Perform a full scan with your antivirus software to rule out malware affecting input devices.
Test with an External Keyboard
Plug in a USB keyboard. If it works perfectly, it confirms the problem is isolated to your laptop’s internal keyboard hardware. This is a key diagnostic step.
Inspect the Internal Ribbon Cable
The internal keyboard connects to the motherboard via a thin ribbon cable. Over time, this connection can become loose. Reseating it is a common fix, but it requires opening the laptop casea step that voids warranties and requires care. If you’re uncomfortable, this is a clear point to stop.
When to Seek Professional Help
Recognizing when a problem is beyond a DIY fix saves time and prevents further damage. Consider a Professional Repair if:
- The keyboard shows clear signs of Spill Damage or physical trauma.
- Multiple keys in a specific row or column are dead (pointing to a circuit trace issue).
- You’ve completed all software steps and the internal ribbon cable reseat, but keys remain unresponsive.
- The thought of opening your laptop’s chassis makes you nervous (a perfectly valid feeling!).
Brands like Dell, HP, and Lenovo have official service channels. Third-party repair shops can also offer quality service, often at a lower cost for out-of-warranty devices. For broader troubleshooting context, you can review general advice on fixing common laptop issues from HP.
Preventative Care for Your Laptop Keyboard
An ounce of prevention is worth a pound of cure. Keeping your keyboard in top shape extends its life significantly.
- Avoid eating or drinking directly over the keyboard.
- Wash your hands before use to reduce oil and grime transfer.
- Shut the lid or use a keyboard cover when the laptop is not in use to keep out dust.
- Clean the keyboard gently but regularly using the compressed air method.
- Update your system and drivers periodically to avoid software conflicts.
For more detailed strategies on long-term care, our guide on how to maintain laptop keyboard performance offers further tips.
A laptop keyboard with unresponsive keys is disruptive, but it’s rarely a death sentence for your device. Methodically work through the logical steps: restart, check software, clean gently, and diagnose hardware. You’ll likely isolate the cause. Whether it’s a simple setting, a quick clean, or a decision to seek a replacement or professional help, you now have a clear path forward. Your workflow doesn’t have to be permanently interrupted.