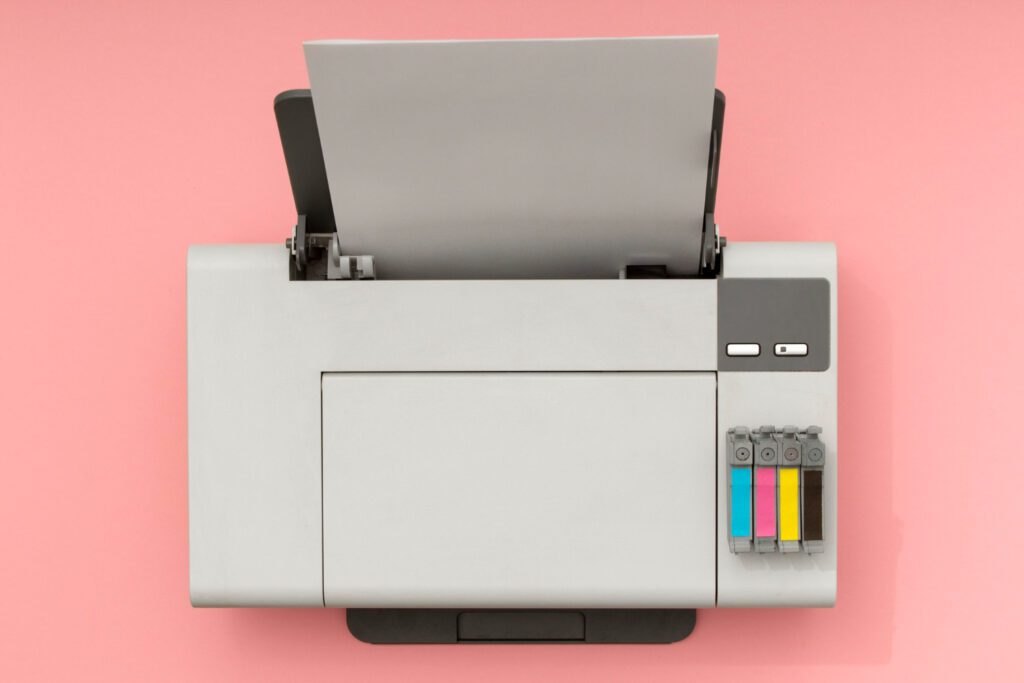
To setup an HP 6000 printer, follow these steps: connect the printer to a power source, install the ink cartridges, load paper into the input tray, and connect the printer to your computer using a USB cable or via a wireless connection. Take note to install the necessary printer software or drivers from the HP website to ensure proper functionality.
Setting up a printer can sometimes be a daunting task, especially if you’re not familiar with the specific model. We will guide you through the process of setting up an HP 6000 printer in a clear and concise manner. By following these simple steps, you’ll have your printer up and running in no time, ready to print your important documents and photos with ease.
So, let’s get started and ensure a smooth setup process for your HP 6000 printer.

Preparing For Setup
Unboxing And Inspecting The Contents:
Before you begin the setup process for your HP 6000 printer, it is essential to unbox the printer and inspect its contents for any potential damages or missing components. Carefully remove the printer from the packaging, ensuring that you don’t accidentally drop or mishandle it. Once you have the printer out, check that all the necessary components are present, including:
- HP 6000 printer
- Power cord
- Setup guide
- Ink cartridges
- Installation CD (if applicable)
- USB cable (if applicable)
Take a moment to inspect each item to ensure there are no visible damages or defects. If you notice any issues, contact the seller or HP customer support immediately for assistance.
Connecting The Power Cord And Turning On The Printer:
Once you have unboxed and inspected all the contents, it’s time to set up your HP 6000 printer. The first step is to connect the power cord to the printer and a power outlet. Locate the power cord that came with your printer and plug it into the designated port on the back of the printer. Then, ensure the other end of the power cord is securely plugged into a working power outlet.
Now that the power cord is connected, locate the power button on your HP 6000 printer. It is usually located near the control panel or on the front of the device. Press and hold the power button for a few seconds until you see the printer’s LED lights turn on and hear the printer initializing.
During the initial setup process, the printer might make some noise and perform self-tests. This is normal, and you don’t need to worry. Allow the printer a few moments to complete its startup procedure.
Installing Printer Software
When it comes to setting up the HP 6000 printer, one crucial step is installing the printer software. This software enables your computer to communicate effectively with the printer, allowing you to print documents and perform other functions seamlessly.
Downloading The Latest Printer Drivers From The Official Hp Website
In order to install the printer software, you first need to download the latest printer drivers from the official HP website. These drivers ensure that your printer functions optimally and that any compatibility issues are resolved.
To download the latest drivers, follow these steps:
- Open your preferred web browser and navigate to the official HP website.
- Go to the “Support” section of the website.
- Search for your specific printer model, which in this case is the HP 6000 printer.
- Once you have found the printer’s support page, locate the “Drivers” or “Downloads” section.
- Select your operating system from the drop-down menu.
- Click on the “Download” button to initiate the driver download.
- Wait for the download to complete.
Running The Printer Software Installation Program
After downloading the printer drivers, you need to run the printer software installation program. This program will guide you through the installation process and ensure that all the necessary files are correctly installed on your computer.
To install the printer software, follow these steps:
- Locate the downloaded driver file on your computer.
- Double-click on the file to start the installation process.
- Follow the on-screen instructions provided by the installation program.
- Read and accept the license agreement.
- Choose your preferred installation options, such as the installation directory and additional software components.
- Click on the “Install” button to begin the installation.
- Wait for the installation to complete.
- Restart your computer if prompted to do so.
Connecting The Printer To The Computer Using A Usb Cable
Once the printer software is successfully installed on your computer, the next step is to connect the printer to your computer using a USB cable. This connection establishes a direct link between the printer and the computer, allowing them to communicate and exchange data.
To connect the printer to the computer using a USB cable, follow these steps:
- Locate the USB cable that came with your HP 6000 printer.
- Connect one end of the USB cable to the USB port on the back of the printer.
- Connect the other end of the USB cable to an available USB port on your computer.
- Ensure that the connection is secure on both ends.
Once the printer is connected to the computer, you are now ready to start using your HP 6000 printer for all your printing needs. The printer software will automatically detect the printer and configure it accordingly.
Connecting To A Wireless Network
Setting up your HP 6000 printer to connect wirelessly is a convenient option that allows you to print from anywhere in your home or office. In this article, we will guide you through the process of connecting your printer to a wireless network.
Accessing The Printer’s Wireless Settings
Before you begin the setup process, it’s important to ensure that your printer is turned on and connected to a power source. Once the printer is powered on, follow these steps to access the wireless settings:
- Locate the Control Panel on your HP 6000 printer. It is usually located on the front or top of the printer.
- Press the “Menu” button on the Control Panel to access the printer’s menu options.
- Using the arrow buttons, navigate to the “Network” or “Wireless” settings and select it by pressing the “OK” button.
Entering The Network Name And Password
After accessing the printer’s wireless settings, you need to enter the network name and password to establish a connection. Follow these steps:
- Using the arrow buttons on the Control Panel, navigate to the “Wireless Setup Wizard” option and select it.
- The printer will search for available wireless networks. Once the list is displayed, locate the network name (SSID) of your wireless network.
- Select your network by highlighting it and pressing the “OK” button.
- If your network is secured, you will be prompted to enter the password. Use the Control Panel’s keypad to enter the password, and press “OK” when finished.
- Once the password is entered, the printer will attempt to connect to the wireless network. This process may take a few minutes.
Verifying The Successful Connection To The Wireless Network
After entering the network name and password, it’s essential to verify that your HP 6000 printer has successfully connected to the wireless network. Follow these steps to confirm the connection:
- On the Control Panel, locate the wireless status icon. It may resemble a Wi-Fi signal or bars.
- If the icon displays a solid signal or bars, it indicates that the printer has successfully connected to the wireless network.
- To further confirm the connection, you can print a wireless network test report. Refer to the printer’s user manual for instructions on generating the test report.
By following these simple steps, you can easily connect your HP 6000 printer to a wireless network. Enjoy the convenience of wireless printing and the ability to print from any device connected to the same network.
Configuring Printer Settings
Setting up the HP 6000 printer is a breeze with these easy-to-follow steps. Begin by accessing the printer settings menu and configuring the necessary options, such as paper size, print quality, and network connectivity. Ensure a smooth printing experience with this simple setup process.
Adjusting Print Quality And Paper Settings
One of the essential steps in setting up your HP 6000 printer is configuring the print quality and paper settings. By optimizing these settings, you can ensure that your prints are of the highest quality and that they meet your specific requirements. Here’s how you can adjust these settings:
- Print Quality: To adjust the print quality, access the printer settings through the control panel or the printer software on your computer. Look for an option like “Quality” or “Print Quality” and choose the desired setting. For general documents, the standard or normal print quality setting should suffice. However, for high-resolution images or professional prints, consider selecting the highest print quality available.
- Paper Type: Another important aspect of print settings is selecting the appropriate paper type. Different types of paper, such as plain paper, photo paper, or glossy paper, require different settings to ensure optimal output. Depending on the printer model, you can access the paper settings either through the control panel or the printer software. Look for an option like “Paper Type” or “Media Type” and choose the appropriate setting that matches the paper you are using.
Setting Up Automatic Duplex Printing
If you frequently print on both sides of the paper, setting up automatic duplex printing can save both time and resources. With automatic duplex printing, your HP 6000 printer will automatically print on both sides of the paper without requiring you to manually flip the pages. Here’s how you can enable this feature:
- Printer Properties: Open the printer properties either through the control panel or the printer software on your computer.
- Duplex Printing: Look for the option called “Duplex” or “Two-sided Printing.” Depending on the printer model and software, it may be located under the “Features” or “Layout” tab. Enable the duplex printing option by selecting “Automatic” or “Enable” from the dropdown menu.
Configuring Paper Tray Options
Configuring the paper tray options ensures that the printer uses the correct paper tray for printing, preventing any inconvenience or misprints. Here’s how you can configure the paper tray options on your HP 6000 printer:
- Printer Properties: Open the printer properties either through the control panel or the printer software on your computer.
- Paper Tray Selection: Look for an option like “Paper Source” or “Paper Tray” and select the desired paper tray from the dropdown menu. If you have multiple paper trays in your printer, this configuration ensures that the printer uses the correct tray based on your selection.
Troubleshooting
Having trouble setting up your Hp 6000 Printer? Follow these simple troubleshooting tips to ensure a smooth setup process without any hassle.
Checking For Software Updates
Before troubleshooting any printer issues, it is important to ensure that your HP 6000 printer is running on the latest software updates. These updates often include bug fixes, performance improvements, and compatibility enhancements that can resolve common printing issues.
To check for software updates for your HP 6000 printer, follow the steps below:
- Ensure that your printer is connected to your computer or the network.
- Open the HP printer software on your computer.
- In the software, locate the “Settings” or “Tools” option.
- Navigate to the “Printer Updates” or “Printer Maintenance” section.
- Click on “Check for Updates” to initiate the software update check.
- If updates are available, follow the on-screen instructions to download and install them.
Keep in mind that the software update process may take some time, so be patient and let it run its course. Once the updates are successfully installed, restart your printer and try printing to see if the issue has been resolved.
Resolving Common Printing Issues
Printing problems can be frustrating, but there are a few troubleshooting steps you can take to resolve common issues with your HP 6000 printer. Below are some common printing issues and their potential solutions:
- Paper jams: Check for any paper stuck in the paper path and remove it carefully. Make sure the paper tray is properly loaded and align the paper guides.
- Low ink levels or empty cartridges: Replace any low or empty ink cartridges to ensure a continuous supply of ink. Refer to the printer manual for instructions on how to replace ink cartridges.
- Print queue stuck: Clear the print queue by cancelling all print jobs. Restart your computer and printer, then try printing again.
- Print quality issues: If your prints are faded, streaked, or smudged, perform a printhead cleaning or alignment from the printer software.
Resetting The Printer To Factory Defaults If Necessary
If you have exhausted all troubleshooting steps and are still experiencing persistent issues with your HP 6000 printer, resetting it to factory defaults may help. This process will restore the printer to its original settings and can often resolve complex software or configuration-related problems.
To reset your HP 6000 printer to factory defaults, follow these steps:
- Turn off the printer and disconnect the power cord from the rear of the printer.
- Wait for approximately 30 seconds.
- Press and hold the power button on the printer for about 15 seconds, then release it.
- Reconnect the power cord to the printer and plug it back into the power source.
- Turn on the printer and wait for it to initialize.
Once the printer has finished starting up, reconfigure any necessary settings such as network connection or paper type, and then try printing again to see if the issue has been resolved.
In summary, troubleshooting your HP 6000 printer involves checking for software updates, resolving common printing issues, and resetting the printer to factory defaults if necessary. These steps can help diagnose and resolve various problems you may encounter, ensuring smooth printing operations and reliable performance from your HP 6000 printer.

Frequently Asked Questions On How To Setup Hp 6000 Printer
How Do I Connect My Hp Printer 6000 To Wi-fi?
To connect your HP printer 6000 to Wi-Fi, go to the printer’s control panel and select the network settings. Choose the Wi-Fi network name and enter the password. Press OK, and your printer will be connected to Wi-Fi.
How Do I Setup My Hp Printer Step By Step?
To set up your HP printer, follow these steps:
1. Unbox the printer and connect it to a power source.
2. Install the ink cartridges and load paper into the input tray.
3. Connect the printer to your computer or wireless network.
4. Visit the HP website, download the printer software, and follow the on-screen instructions to install it.
5. Test your printer by printing a test page.
Why Won T My Hp 6000 Printer Connect To Wi-fi?
There could be several reasons why the HP 6000 printer won’t connect to Wi-Fi. Ensure that the printer and the Wi-Fi network are compatible and within range. Check if the Wi-Fi password is correct and if the printer’s firmware is up to date.
Additionally, try restarting both the printer and the Wi-Fi router.
How To Install Hp Envy 6000 Printer Windows 10?
To install the HP ENVY 6000 printer on Windows 10, follow these steps: 1. Connect the printer to your computer. 2. Go to Settings, select Devices, and click Printers & scanners. 3. Choose Add a printer or scanner. 4. Select your printer from the list and follow the prompts to complete the installation.
Conclusion
Setting up your Hp 6000 printer is a breeze with the step-by-step instructions outlined in this blog post. By following these easy-to-understand guidelines, you can quickly and efficiently get your printer up and running. Say goodbye to the frustration of complicated installation processes.
With our helpful tips and tricks, you’ll be printing your documents in no time. Happy printing!

